
|
Do it yourself
| |||
| ||||


How to reset the gearbox of the Smart 451?
Model: Smart Smart
451
- Years 2007-2015
When the flashing letter N appears on the instrument panel display of the Smart 451, it means that the gear change is faulty. To be able to resolve this anomaly temporarily, it is possible to engage gear with the engine off. Subsequently, with the gear engaged and with the ignition key in position two, the car must be pushed so that it can start. Once the clutch is released during the push operation, the car will start. However, you must go to the workshop promptly to solve the problem and avoid worse damage.
Posted on 2 June 2022 by ScegliAuto
Video tutorial
Related tutorials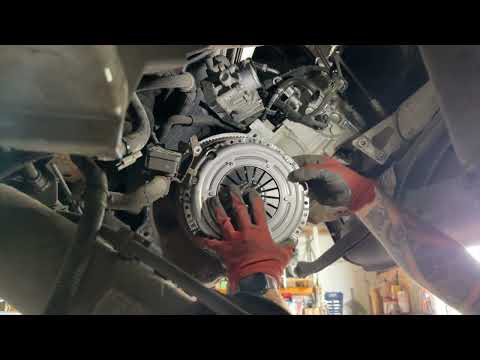
Smart
(2007-2015 /
451)
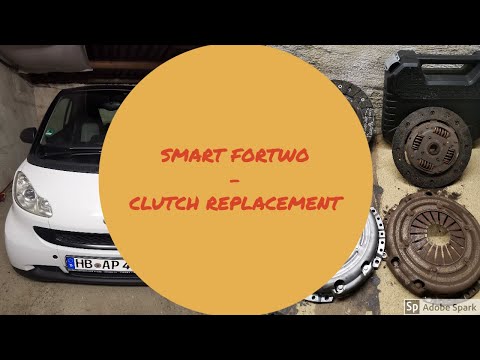
The clutch replacement operation on the Smart 451 is carried out by accessing the engine compartment of the car, which is located immediately under t…

Smart
(2007-2015 /
451)
In order to reset the automatic gearbox installed on the Smart, you will need to insert the ignition key and turn it to turn on the instrument panel:…
Smart
(2007-2015 /
451)
In today's video tutorial we will see the main steps to be able to remove and replace the clutch in a Smart Fortwo 451 1.0 MHD. To access the clutch …
Other guides you may be interested in
|
Frequently Asked QuestionsHow to Replace the Thermostat on a Fiat Punto 2 Series 8v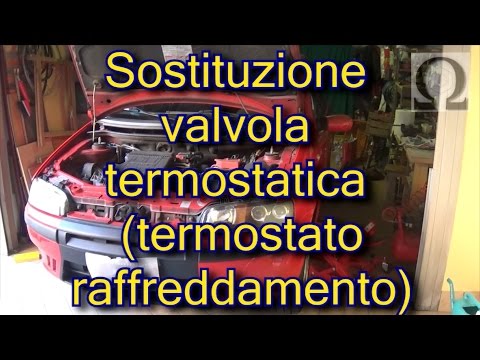
When replacing the thermostat, it is advisable to drain the coolant system completely. The thermostat is located just above the gearbox, directly under the ignition coils. To facilitate the replacement, disconnect the intake duct hose and remove the coil pack. At this point, disconnect the connector from the thermostat and proceed to remove the corresponding fixing pins to replace it with the new one, ensuring to use a new gasket. by ScegliAuto More videos
|

|
For advertising on this site Write to info@scegliauto.com
ScegliAuto is not responsible for any inaccuracy of the data in the lists. To report any inaccuracy or your business (if you own the business in question), please write to info@scegliauto.com
Number of seconds to generate the page: 0.117
(c) ScegliAuto 2026 - info@scegliauto.com - Privacy policy VAT number: IT01247470535 |