
|
Do it yourself
| |||
| ||||


How to replace the turn signal and reverse light bulbs on your Smart Fortwo 453
Model: Smart Smart
- Years 2014-2021
To replace the reverse gear and direction indicator bulbs, open the boot flap, with a t20 torx key unscrew the two screws on the inside of the lighthouse, with a plastic tool release the lighthouse from the bodywork and once the lighthouse has been released, disconnect the connector. Once the headlight has been removed, in the rear part, we find 4 tabs that we move to release the light group; having removed the light unit, take the turn signal bulb, press it gently and turn it anticlockwise; once the direction indicator bulb has been removed, take the new led bulb, insert it in the bulb holder by pushing it and turning it clockwise; for the reverse gear bulb, gently pull it towards us and once the bulb has been removed, insert the new LED bulb into the bulb holder by simply pressing it (be careful not to touch the bulb LEDs with your fingers). Once the bulbs have been replaced, put the light unit back in the rear part of the headlight, pushing it and fitting the tabs; then connect the headlight connector, fit it with the hooks and tighten the two torx screws. Finally we can check that the bulbs are working properly.
Posted on 23 March 2023 by ScegliAuto
Video tutorial
Related tutorials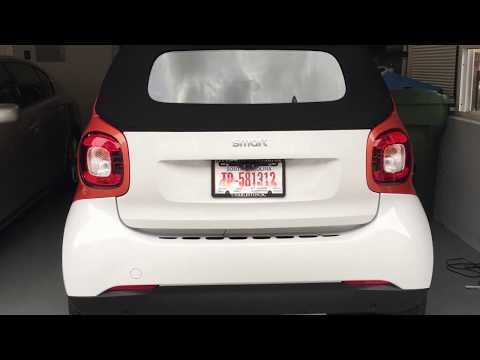
Smart
(2014-2022 /
453)
In today's video we will see the instructions that will allow us to disassemble the rear view camera on a Smart Fortwo 453. First of all, let's get t…

Smart
(2014-2022 /
453)
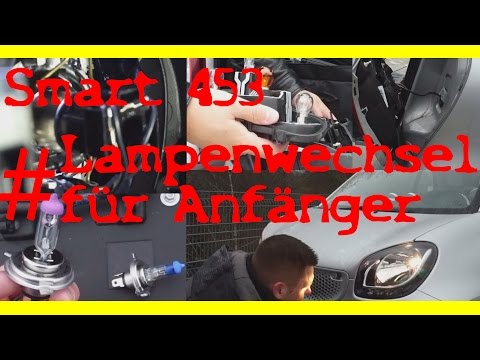
If you own a Smart Fortwo 453 and want to replace one of the front turn signal bulbs by yourself, just follow the following guide and apply the descr…
Smart
(2014-2022 /
453)
We replace the damaged bulbs on a headlight of a Smart Fortwo: we remove the front hood as in the video, we put our hand in and remove the bulb from …
Other guides you may be interested in
|
How to Replace the Alternator on a Citroen Berlingo
For this simple operation, you will need to release the bonnet from the appropriate lever to lift it. Next, for safety and to protect the more delicate circuits, disconnect the cables from the battery. You can now work directly on the motor located under the air intake box. Remove it by unscrewing the various bolts, then working from underneath your vehicle, reach the motor in question. Disconnect the connector that powers it and unscrew the bolts that secure it. Now, simply install the new one. by ScegliAuto More videos
|

|
For advertising on this site Write to info@scegliauto.com
ScegliAuto is not responsible for any inaccuracy of the data in the lists. To report any inaccuracy or your business (if you own the business in question), please write to info@scegliauto.com
Number of seconds to generate the page: 0.203
(c) ScegliAuto 2026 - info@scegliauto.com - Privacy policy VAT number: IT01247470535 |