
|
Do it yourself
| |||
| ||||


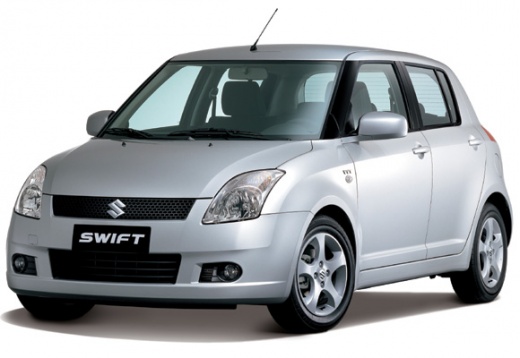
How to replace the fan motor of the Suzuki Swift
Model: Suzuki Swift
MK 4, Rs41
- Years:
2004, 2005, 2006, 2007, 2008, 2009, 2010
Video tutorial
Let's see how to replace the fan motor of the Suzuki Swift: position yourself on the passenger side and lie down with your head under the dashboard, in the passenger's foot area. Locate the fan motor, which is a round component with an electrical cable coming out of it. Using an 8 mm wrench, unscrew the three nuts that secure the motor cage: one is visible from the front, while the other two are on the sides/back. Disconnect the electrical connector and remove the old motor. You can find the new fan on auto-doc. It with the code 2669I0220 at the price of 45.49 euros + shipping costs of 9.95 euros. For reassembly, follow the instructions in reverse, inserting the motor and cage into its housing, reconnect the electric motor and screw in the three 8 mm nuts. The guide distinguishes between sedan and wagon: if after the replacement the ventilation is still weak, the problem could be the polarity, which is different on the two models: we can reverse the wires in the connector, using a flathead screwdriver to unlock the terminals, remove the two wires and insert them in the reversed position. We will hear a "click" when they unlock.
Posted on 2 October 2025 by ScegliAuto
Related tutorials
Suzuki Swift
(2017-2024 /
MK 6, A2L)
On the Suzuki Swift, the maintenance interval and oil change reset is done from the instrument cluster. With the Suzuki Swift stationary and the engi…

Suzuki Swift
(2004-2010 /
MK 4, Rs41)
If you own a Suzuki Swift and are wondering how you can replace the cabin air filter yourself, then all you have to do is read the following guide an…

Suzuki Swift
(2017-2024 /
MK 6, A2L)
Following these brief and simple instructions, we will see how to change the time on the display of the instrument panel on the Suzuki Swift and the …
Other guides you may be interested in |
How to reset the tyre pressure warning light on the Kia Niro EV?
To reset the tyre pressure warning light on the Kia Niro EV, inflate the tyres until they reach the correct pressure value. This value is indicated on the sticker attached to the driver's door pillar. Once the tyres are inflated, turn on the instrument cluster to check that the warning light has completely disappeared from the display. If it is still present, you may need to drive for a few miles to ensure it disappears completely from the screen. by ScegliAuto More videos
|
|
For advertising on this site Write to info@scegliauto.com
ScegliAuto is not responsible for any inaccuracy of the data in the lists. To report any inaccuracy or your business (if you own the business in question), please write to info@scegliauto.com
Number of seconds to generate the page: 0.020
(c) ScegliAuto 2026 - info@scegliauto.com - Privacy policy VAT number: IT01247470535 |
