
|
Do it yourself
| |||
| ||||


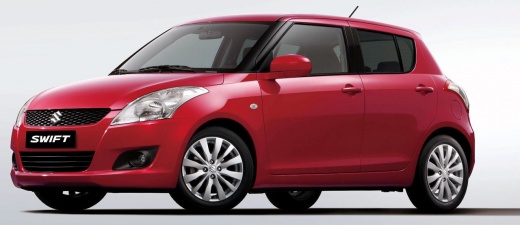
Fuse Diagram for the Suzuki Swift
Model: Suzuki Swift
AZG, MK 5, Rs41
- Years:
2010, 2011, 2012, 2013, 2014, 2015, 2016, 2017
Video tutorial
Replacing a blown fuse is a simple task, provided you have the appropriate pliers and a good understanding of the layout of the various fuses in your car. In this video, you can see where they are located in a 2011 Suzuki Swift, allowing you to proceed with the replacement without consulting a mechanic. As noted, there are two fuse boxes: one is located next to the steering wheel, beneath the dashboard plastics, while the other is in the engine compartment, near the battery. The video also shows the amperage and identification code for each fuse.
Updated on 9 October 2026 by ScegliAuto
Related tutorials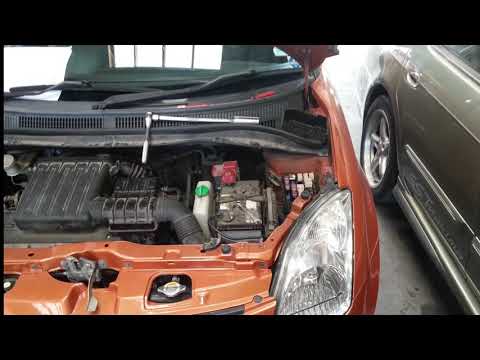
Suzuki Swift
(2004-2010 /
MK 4, Rs41)
Today's guide will show you the positioning and diagram of the fuses in the Suzuki Swift. First, open the bonnet of the vehicle and locate the extern…
Suzuki Swift
(2010-2017 /
AZG, MK 5, Rs41)
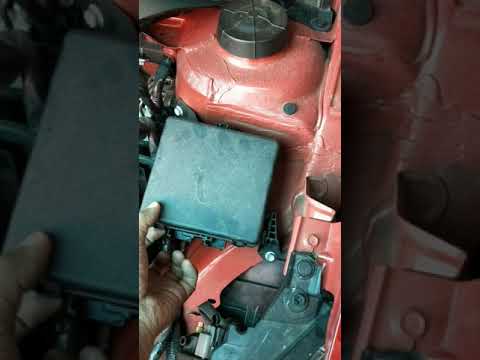
Today's instructions will show you the diagram and positioning of the external fuse box of the Suzuki Swift. First, open the bonnet and locate the fu…

Suzuki Swift
(2024-2026 /
MK 4)
Discover the steps and information related to the diagram and positioning of the external fuse box of the Suzuki Swift. First, open the bonnet of the…
Other guides you may be interested in
|
How to Open the Fuel Flap on a Volkswagen Tiguan?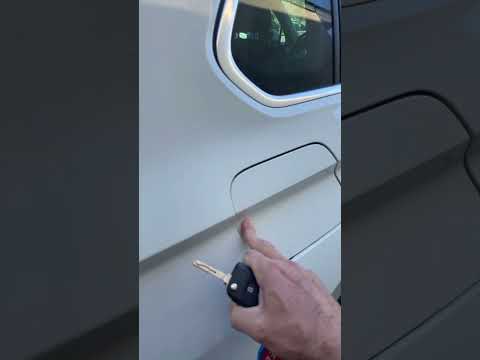
To open the fuel flap on a Volkswagen Tiguan, first unlock the car using the appropriate button on the remote. This will open the car and unlock the mechanism that controls the fuel flap. At this point, apply light pressure to the left side of the flap to open it and access the cap underneath. Once this is unscrewed, you can refuel and then close everything. by ScegliAuto More videos
|
|
For advertising on this site Write to info@scegliauto.com
ScegliAuto is not responsible for any inaccuracy of the data in the lists. To report any inaccuracy or your business (if you own the business in question), please write to info@scegliauto.com
Number of seconds to generate the page: 0.395
(c) ScegliAuto 2026 - info@scegliauto.com - Privacy policy VAT number: IT01247470535 |
