
|
Do it yourself
| |||
| ||||



Video tutorial
White and black are delicate colors. Both show stains and scratches easily, and simple washing, especially with brushes, can sometimes cause even more scratches on these colors. In the video, we see our Tata Bolt in really bad shape - dirty and scratched - being restored with a bit of patience and a two-component polish (or compound) that is also used for boat hulls and fiberglass in general. This type of polish, commonly found on major e-commerce platforms for about $40.00 to $50.00 per bottle, removes not only superficial scratches but also some deeper ones. Start by washing the car, then apply the polish thoroughly with a large, soft brush, paying special attention to the most worn areas. Apply it twice if necessary. Then wash it well, and if desired, apply a protective wax. The result will be excellent.
Updated on 11 July 2026 by ScegliAuto
Related tutorials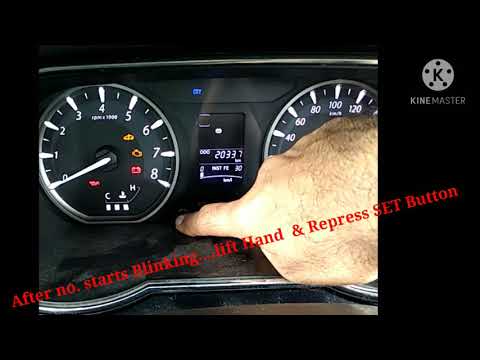
Tata Bolt
(2014-2019 /
MK 1)
The procedure to reset the service light is the same for several Tata vehicles: Bolt, Tiago, Tigor, and Zest. After performing the maintenance, turn …

Tata Bolt
(2014-2019 /
MK 1)
After performing the routine maintenance service, you need to reset the service light; let's see how to reset the maintenance light on the Tata Bolt.…

Tata Bolt
(2014-2019 /
MK 1)
In this new guide for all of you with a Tata Bolt, we will discover the steps to correctly replace the small battery inside the key. First, get a sma…
Other guides you may be interested in |
How to Remove the Rear Seat of a Hyundai Tucson?
To remove the rear seat of a Hyundai Tucson, follow these steps. Start by moving the front seats to their most forward position to gain space. Next, locate the release lever on the underside of the rear seat, near the floor. Press this lever down while pulling the seat upwards to unlock it from the anchor pins. Once unlocked, tilt the seat upwards and forwards to remove it from its position. Repeat this process for both sides of the rear seat. Be careful of any electrical cables or components that may be connected to the seat during removal. Once the rear seat is removed, the disassembly is complete. by ScegliAuto More videos
|
|
For advertising on this site Write to info@scegliauto.com
ScegliAuto is not responsible for any inaccuracy of the data in the lists. To report any inaccuracy or your business (if you own the business in question), please write to info@scegliauto.com
Number of seconds to generate the page: 0.021
(c) ScegliAuto 2026 - info@scegliauto.com - Privacy policy VAT number: IT01247470535 |
