
|
Do it yourself
| |||
| ||||


How to disassemble the rear light of the Toyota Auris
Model: Toyota Auris
E180
- Years 2012-2018
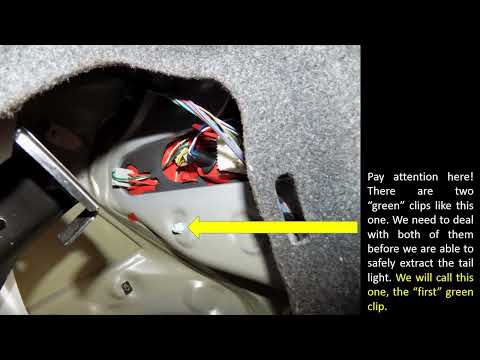
In this guide, we will see the instructions that will allow us to disassemble and replace the rear tail light and its bulbs of the Toyota Auris. First, we open the rear hatch of the trunk and start unscrewing the fixing screws found on the rear part of the tail light; then we pry on the side to gently detach it from the bodywork, disconnecting the electrical connector located on the rear part, as shown in the video. At this point, if necessary, we replace the brake light bulb, or the entire tail light, following the video tutorial until the end!
Posted on 6 May 2025 by ScegliAuto
Video tutorial
Related tutorials
Toyota Auris
(2007-2012 /
E150)
Today we will discover the instructions that will allow us to disassemble and replace the rear taillight and bumper of the Toyota Auris. First, we op…
Toyota Auris
(2007-2012 /
E150)
Let's briefly go through the instructions that will allow you to remove and replace the rear light of the Toyota Auris, following these simple steps.…

Toyota Auris
(2012-2018 /
E180)
Shortly, we will see the instructions that will allow us to disassemble and replace the bulbs of the rear light of the Toyota Auris. First, we open t…
Other guides you may be interested in
|
Fuses Location and Diagram for the Volkswagen Crafter
In this guide, we will look at the location of the fuse boxes and how to find their diagram for the Volkswagen Crafter. First, get inside the vehicle and start by removing the plastic cover found under the steering wheel, to access the internal fuse box; you will find another fuse box in the engine compartment by removing the plastic cover located next to the battery. At this point, use the owner's manual to find the fuse diagram, which will allow you to identify and replace any blown fuses with new ones! by ScegliAuto More videos
|
|
For advertising on this site Write to info@scegliauto.com
ScegliAuto is not responsible for any inaccuracy of the data in the lists. To report any inaccuracy or your business (if you own the business in question), please write to info@scegliauto.com
Number of seconds to generate the page: 0.224
(c) ScegliAuto 2026 - info@scegliauto.com - Privacy policy VAT number: IT01247470535 |
