
|
Do it yourself
| |||
| ||||


How to reset the AdBlue warning light on the Toyota Hilux pickup?
Model: Toyota HiLux
An130, An120, MK 8
- Years 2015-2024
If the AdBlue warning light has turned on in the instrument panel of our Toyota Hilux pick-up, it means that the fluid in the pollution control system has reached the minimum level and will need to be topped up. This is an extremely simple and quick operation; let's see how to proceed in this tutorial. First, we need to purchase a 10-liter canister of urea from an auto parts store. After that, make sure the engine is turned off and open the hood. Next, locate the blue cap in front of the windshield on the driver's side, unscrew it, and using the hose provided with the canister, pour in the amount of fluid needed to reach the maximum level.
Posted on 7 January 2026 by ScegliAuto
Video tutorial
Related tutorials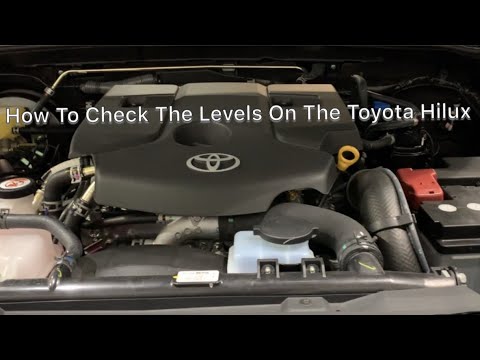
Toyota HiLux
(2015-2024 /
An130, An120, MK 8)
To reset the AdBlue warning light on a Toyota Hilux, you need to add the necessary amount of additive fluid into the corresponding tank. First, open …

Toyota HiLux
(2005-2015 /
An30, An20, MK 7, An10)
In this tutorial we can see how to reset the fuel filter light in the Toyota Hilux pick-up, an extremely simple and quick operation to be carried out…

Toyota HiLux
(2015-2024 /
An130, An120, MK 8)
When the AdBlue light appears on the instrument cluster of the Toyota Hilux, it means that the additive fluid in the tank is almost depleted. You can…
Other guides you may be interested in
|
How to Remove the Front Bumper of the Citroën C4 Picasso?
To remove the front bumper of the Citroën C4 Picasso, you need to take out all the rivets and screws that secure the piece to its housing: these screws are located inside the wheel arches of the front wheels and at the central upper part of the bumper itself. Once all these fastening elements have been removed, you can detach the bumper from its seat by disconnecting the connectors inside and then insert the new replacement part. The new part can then be secured and connected properly, ensuring it is correctly fixed in place. by ScegliAuto More videos
|
For advertising on this site Write to info@scegliauto.com
ScegliAuto is not responsible for any inaccuracy of the data in the lists. To report any inaccuracy or your business (if you own the business in question), please write to info@scegliauto.com
Number of seconds to generate the page: 0.128
(c) ScegliAuto 2026 - info@scegliauto.com - Privacy policy VAT number: IT01247470535 |
