
|
Do it yourself
| |||
| ||||


Removing the Front Headlight of the Toyota MR2
Model: Toyota Mr2
MK 3, W30
- Years:
1999, 2000, 2001, 2002, 2003, 2004, 2005, 2006, 2007
Video tutorial
Next, we will see how to remove and replace the front headlight of the Toyota MR2. First, open the front bonnet of the vehicle and remove the internal plastic cover by taking out all the clips; then unclip the front bumper to access all the screws of the headlight assembly, so you can unscrew them later, as shown in the video. At this point, disconnect the electrical connector of the bulbs, thus removing the front headlight; replace the bulbs or the entire headlight assembly, reconnecting it and then reassembling all the other components.
Posted on 28 May 2026 by ScegliAuto
Related tutorials
Toyota Mr2
(1990-2000 /
MK 2, W20)
In this tutorial, we will see how to replace the headlights bulbs on a Toyota MR2, a very simple and quick operation. First of all, let's make sure t…

Toyota Mr2
(1990-2000 /
MK 2, W20)
In this guide, we will see the main instructions on how to disassemble and replace the alternator of the Toyota MR2. To remove the alternator, it is …
Toyota Mr2
(1990-2000 /
MK 2, W20)
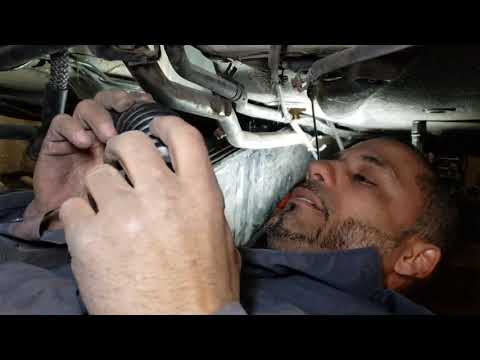
To replace the fuel tank on a Toyota MR2, lift the car using a jack or ramp to access the components underneath. For this model, the tank is located …
ScegliAuto offers an extensive international collection of automotive tutorials available in 12 languages. Each guide combines instructional videos with original explanations written by experienced human editors, along with information about the car models covered.
Other guides you may be interested in
|
How to Remove the Spare Wheel from the Citroen C4 Picasso
Follow these instructions to remove the spare wheel and replace it on the Citroen C4 Picasso. On this model, the spare wheel is located under the vehicle's floor; to lower it, simply unscrew the bolt to loosen the strap, then disconnect it from the spare wheel, as shown in the video. At this point, lift the vehicle and remove the wheel, securing the spare wheel or space-saver; tighten the bolts in a criss-cross pattern, finally placing the old wheel back under the vehicle's floor! by ScegliAuto More videos
|
|
For advertising on this site Write to info@scegliauto.com
ScegliAuto is not responsible for any inaccuracy of the data in the lists. To report any inaccuracy or your business (if you own the business in question), please write to info@scegliauto.com
Number of seconds to generate the page: 0.026
(c) ScegliAuto 2026 - info@scegliauto.com - Privacy policy - About us VAT number: IT01247470535 |
