
|
Do it yourself
| |||
| ||||


Replacing the Battery on a 2006 Yaris (XP90)
Model: Toyota Yaris
Xp90
- Years 2005-2011
Preliminary note: car batteries are not all the same, not only in power but also in size. The 2006 Yaris can fit batteries measuring approximately 207 x 175 x 190 mm, with power ranging from 44 to 50 Ah. Higher performance batteries (e.g., 60 Ah) may not physically fit in the original housing. The video shows a Varta model C22. Tools needed for replacement: ratchet with sockets (or alternatively a set of spanners), flat screwdriver, gloves, contact cleaning spray, contact anti-oxidation spray, clean cloth. Before starting, turn off the car engine, remove the key, and open the bonnet, wearing protective gloves (latex or similar) and positioning yourself in front of the vehicle. The battery is located in the upper right corner, deep inside. To access it, gently detach the bonnet seal first. The seal is held in place by several plastic clips. Be careful not to force it as they may break or tear the seal. If the clips are difficult to remove, help by pushing them from below with a finger. Start extraction from the right and slowly lift the seal, bending it towards the left. It is not necessary to detach it completely. When the third clip is removed, there will be enough space to work. Now lift the plastic cover that houses the windscreen washer nozzle. Locate the clips on the right and left and press with your fingers until they release. At this point, the piece will lift and rotate like a flap. Position it fully open, taking care not to damage or detach the washer fluid tube. The area is now clear, but still be cautious of the brake fluid reservoir near the battery as it is easy to damage it when removing or repositioning the battery. Use the ratchet to loosen and completely detach the terminals (red positive on the left and black negative on the right), starting with the negative. Note that the positive terminal is protected by a small plastic cover, easily opened with a snap. Next, remove the central metal clamp that secures the battery by loosening the single hex nut present. Caution: this nut should not be completely removed, but loosened just enough to release the clamp, gently pulling it upwards. Now the battery is free. Grip it firmly on the left and right (it has two side recesses to aid finger insertion) and pull it out of the engine bay, tilting it as little as possible and avoiding contact with other components. Place it in a safe area, keeping it upright and away from children and water. Clean the contacts in the engine bay using the spray and clean cloth, and dry the terminals thoroughly. Clean the now empty battery tray as well. Now position the new battery. Before proceeding, remove the two plastic covers protecting the terminals with a screwdriver. Insert the new battery into the tray, respecting the polarity (positive/red on the left and negative/black on the right). Reattach the terminals and tighten them with the ratchet. Secure the central clamp and tighten it until the battery is firmly secured in the tray. Be careful not to overtighten the nut as it may damage the battery plastic. Spray a small amount of contact anti-corrosion spray on the terminals to prevent oxidation. Close the red cover on the positive terminal. Close the plastic flap of the windscreen washer, ensuring it locks properly and does not pinch the tube. Gently reposition the bonnet seal using the three plastic clips. Start the vehicle to check the full functionality of the systems.
Updated on 19 March 2026 by ScegliAuto
Video tutorial
Related tutorials
Toyota Yaris
(2005-2011 /
Xp90)
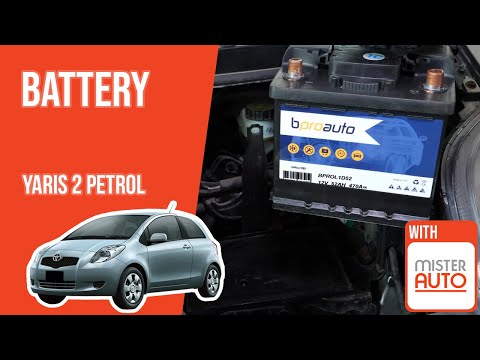
Shortly, we will see the instructions that will allow us to disassemble and replace the battery of the Toyota Yaris 1.3 VVT-i. First, we open the hoo…
Toyota Yaris
(2005-2011 /
Xp90)
The following steps will show you the process for removing and replacing the battery of the Toyota Yaris 1.3 VVT-I. First, open the bonnet and start …
Toyota Yaris
(2005-2011 /
Xp90)
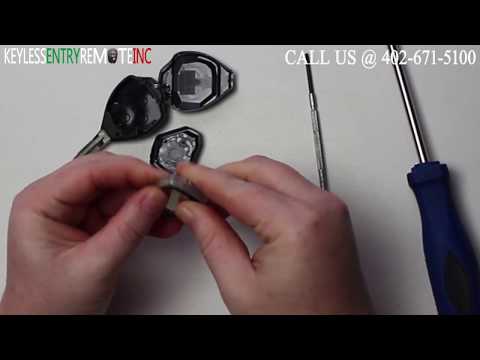
Start by inserting the tip of a flathead screwdriver into the slot on the side of your Toyota Yaris key and lever it open. Then, detach and remove th…
Other guides you may be interested in
|
Frequently Asked QuestionsHow to Replace the Cabin Filter on the Opel Grandland X
If you own an Opel Grandland X and want to know the steps to replace the cabin air filter, carefully read the following guide and follow the described steps. First, enter the vehicle and go to the passenger side. Then, locate the box containing the air filter in the lower side area of the dashboard. Remove the cover of the box and finally replace the old filter with the new one. Refit the cover, and you are done. by ScegliAuto More videos
|

|
For advertising on this site Write to info@scegliauto.com
ScegliAuto is not responsible for any inaccuracy of the data in the lists. To report any inaccuracy or your business (if you own the business in question), please write to info@scegliauto.com
Number of seconds to generate the page: 0.168
(c) ScegliAuto 2026 - info@scegliauto.com - Privacy policy VAT number: IT01247470535 |
