
|
Do it yourself
| |||
| ||||



Replacing Windshield Wiper Blades on Toyota Hi Lux
Model: Toyota HiLux
MK 7, An10, An20, An30
- Years:
2005, 2006, 2007, 2008, 2009, 2010, 2011, 2012, 2013, 2014, 2015
Video tutorial
Over time, the effectiveness of windshield wiper blades tends to decrease, mainly due to the wear of the rubber parts. To replace them, you can opt for "universal" blades that come with various types of clips to adapt to different attachment types. However, it is important to check the length of the blade before purchasing, ensuring it matches the currently installed ones. Once confirmed, proceed with the replacement. First, lift the wiper arm and rotate the blade perpendicular to it. Insert your fingers into the slot of the blade and apply slight downward pressure to release and remove it. Check the type of clip mounted and use the same one from the universal blades' kit. At this stage, do not leave the wiper arms raised, as they could accidentally snap back and seriously damage the windshield. Attach the new blades to the arms, ensuring they snap into place.
Updated on 7 July 2026 by ScegliAuto
Related tutorials
Toyota HiLux
(2015-2024 /
MK 8, An130, An120)
If your Toyota Hi Lux key has suddenly stopped working, you may need to replace the battery. Below, you will find the steps required to perform this …

Toyota HiLux
(2005-2015 /
MK 7, An10, An20, An30)
If you own a Toyota Hi Lux and want to learn how to correctly and safely replace the cabin air filter, just read the following steps carefully and fo…
Toyota HiLux
(2005-2015 /
MK 7, An10, An20, An30)
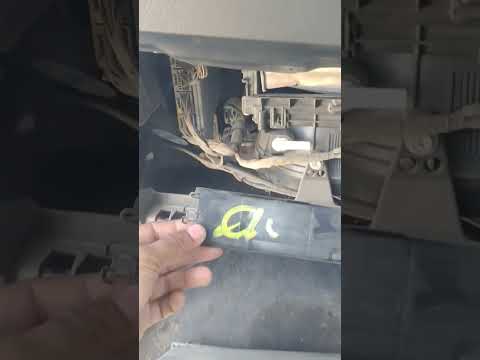
After driving several miles with your Toyota HiLux (2005-2015), it is necessary to replace the cabin air filter to continue ensuring optimal air qual…
Other guides you may be interested in
|
How to Remove the Rear Seat of a Hyundai Tucson?
To remove the rear seat of a Hyundai Tucson, follow these steps. Start by moving the front seats to their most forward position to gain space. Next, locate the release lever on the underside of the rear seat, near the floor. Press this lever down while pulling the seat upwards to unlock it from the anchor pins. Once unlocked, tilt the seat upwards and forwards to remove it from its position. Repeat this process for both sides of the rear seat. Be careful of any electrical cables or components that may be connected to the seat during removal. Once the rear seat is removed, the disassembly is complete. by ScegliAuto More videos
|
|
For advertising on this site Write to info@scegliauto.com
ScegliAuto is not responsible for any inaccuracy of the data in the lists. To report any inaccuracy or your business (if you own the business in question), please write to info@scegliauto.com
Number of seconds to generate the page: 0.076
(c) ScegliAuto 2026 - info@scegliauto.com - Privacy policy VAT number: IT01247470535 |
