
|
Do it yourself
| |||
| ||||


How do you reset the tire pressure light of the Toyota RAV 4?
Model: Toyota Rav 4
Xa40, MK 4
- Years 2013-2018 The tire pressure warning light that appears on the instrument panel of the Toyota RAV 4 can be reset by inflating all tires to the recommended pressure value: this value is indicated on the sticker attached to the driver's side door pillar. Once the tires have been inflated, it will be possible to turn on the instrument panel by pressing the appropriate button: then you will need to hold down the button located under the steering column. This way, the tire pressure warning light will start flashing, until it goes off completely.
Posted on 7 May 2024 by ScegliAuto
 How to reset the tire pressure light on the Toyota RAV4
Toyota Rav 4 (2013-2018 / Xa40, MK 4) The ignition of the tire pressure warning light indicates a possible puncture or loss of pressure; let's see how to reset the TPMS light on the Toyot  How do you reset the tire pressure light on the Toyota RAV 4?
Toyota Rav 4 (2013-2018 / Xa40, MK 4) To reset the tire pressure warning light of the Toyota RAV 4, first inflate the tires to the optimal pressure value: this value is indicated on the s 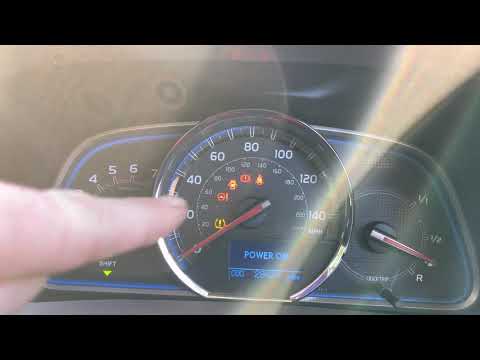 How to reset the tire pressure warning light in a Toyota RAV 4.
Toyota Rav 4 (2013-2018 / Xa40, MK 4) In this video tutorial, we can see how it is possible to reset the tire pressure warning light in a Toyota RAV 4 by following some simple steps: the Other guides that may interest you
|
How to deactivate the safe lock on a Volkswagen Golf.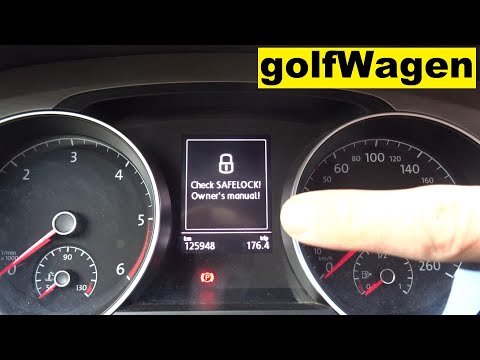
The safe lock is indeed an anti-theft system that prevents thieves from accessing the car. This device locks the doors, both externally and internally, when the driver activates the central locking remote control after leaving the vehicle. To permanently disable it, it is necessary to use a diagnostic program such as VCDS that we will connect to the vehicle through the ODBII port. Then wait for the connection and recognition of the control unit and then select the blocks present and locate the safe lock to disable it. And the job will be completed. by ScegliAuto More videos
|
|
For advertising on this site Write to info@scegliauto.com
ScegliAuto is not responsible for any inaccuracy of the data in the lists. To report any inaccuracy or your business (if you own the business in question), please write to info@scegliauto.com
Number of seconds to generate the page: 0.039
(c) ScegliAuto 2024 - info@scegliauto.com - Privacy Policy VAT number: IT01247470535 |