
|
Do it yourself
| |||
| ||||


LED bulbs should always be installed correctly.
Model: (Various brands) Various
Video tutorial
The video explains a fundamental concept that is often overlooked: LED bulbs in car headlights almost always need to be adjusted upon installation. Car headlights, especially reflector types, are designed with millimeter precision around the specific light point of the original halogen bulb. LEDs are different, so if the LED chip is not aligned exactly where the original filament would be, the light beam will be incorrect (butterfly shape, patches, with shadows), which is dangerous for the driver (insufficient road illumination) and dangerous for others (glare, "glare" even with low beams on). Quality LED bulbs have a rotating mounting collar with a fixing screw: we detach the bulb from the socket (but keep it connected), loosen the fixing screw, rotate the collar to change the orientation of the LED board, insert the bulb into the housing without securing it, and visually check if the LED chips are parallel and centered with respect to the reflectors. It may take a few attempts. Tighten the fixing screw and do a test on a wall, where the light cut-off must be sharp and horizontal, at the center and at the correct height relative to the opposite side: there should be no patches of light above the cut-off line (a sure sign of glare). Remember that LED kits are not approved - with rare exceptions - for road use if the vehicle has halogen housings. The only legally safe option is to replace the entire optical unit designed for LEDs.
Posted on 7 January 2026 by ScegliAuto
Related tutorials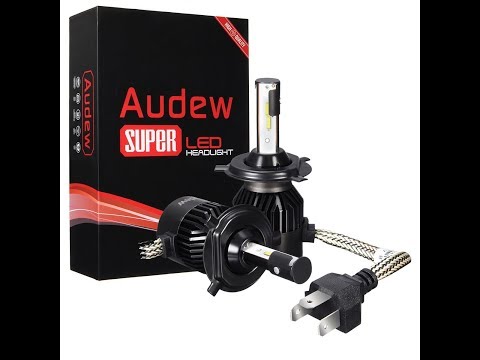
…

…

…
Other guides you may be interested in |
How to Remove the Rear Seat of a Hyundai Tucson?
To remove the rear seat of a Hyundai Tucson, follow these steps. Start by moving the front seats to their most forward position to gain space. Next, locate the release lever on the underside of the rear seat, near the floor. Press this lever down while pulling the seat upwards to unlock it from the anchor pins. Once unlocked, tilt the seat upwards and forwards to remove it from its position. Repeat this process for both sides of the rear seat. Be careful of any electrical cables or components that may be connected to the seat during removal. Once the rear seat is removed, the disassembly is complete. by ScegliAuto More videos
|
|
For advertising on this site Write to info@scegliauto.com
ScegliAuto is not responsible for any inaccuracy of the data in the lists. To report any inaccuracy or your business (if you own the business in question), please write to info@scegliauto.com
Number of seconds to generate the page: 0.055
(c) ScegliAuto 2026 - info@scegliauto.com - Privacy policy VAT number: IT01247470535 |
