
|
Do it yourself
| |||
| ||||


Replacing the Timing Chain
Model: (Various brands) Various
Warning: This procedure is complex and requires a complete set of workshop tools, a torque wrench, and a workshop manual indicating the torque settings for each component. Parts needed: timing chain kit, new water pump, and sealant, along with all fluids that will need to be replaced during this intervention (oil, coolant). Unscrew, disconnect, and remove the vacuum pump hose, unscrew and remove the valve cover, unscrew and remove the vacuum pump. Using a pulley puller, unscrew and remove the water pump pulley, then unscrew and remove the engine support bracket followed by the water pump. Set cylinder number 1 to top dead centre by rotating the crankshaft pulley until the timing marks on the crankshaft and camshaft pulleys align. Using the puller tool, loosen the bolt securing the pulley to the crankshaft and remove it. Now you can remove the timing cover that also covers the oil pump. Remove the chain tensioner and the guide. Remove the chain guide, unscrew the camshaft gear and remove it along with the chain, then remove the camshaft gear. Clean the contact surfaces on the engine ensuring no debris enters the internal engine system, examine the crankshaft gear using a gauge and for the timing chain using the torque wrench apply a force of 140 newton to the timing chain then measure a length of 8 links, repeating the operation at three different points. Comparing with the data provided by the manufacturer will indicate the degree of wear of the chain and gears. Now you can start replacing all components using the timing chain kit, starting with the new crankshaft gear, followed by the new camshaft gear along with the timing chain. It is important to ensure that the timing marks of the camshaft and crankshaft align with the gold links of the timing chain. Now you can install the new timing chain guide, the sliding rail, and the tensioner, tightening the bolts according to the torque specified by the vehicle manufacturer. Remove the pin from the chain tensioner, replace the O-rings on the oil pump. Clean the contact surfaces of the timing cover and install the new crankshaft oil seal, apply sealant on the timing cover and on the engine, then reassemble the cover. Check that the water pump is not worn or damaged and replace it if necessary; after installing the pump, tighten the bolts to the torque specified by the vehicle manufacturer, reassemble the cover on the timing cover, reassemble the engine support bracket and tighten the bolts to the torque specified by the vehicle manufacturer. Reassemble the crankshaft pulley, vacuum pump, and water pump pulley ensuring all bolts are tightened to the specified torque. Replace the old gasket of the valve cover, reassemble the valve cover and the vacuum pump hose. Reassemble the auxiliary engine components, replace the engine oil and filter using the type of oil specified by the vehicle manufacturer. Fill the cooling system with new coolant. Run the engine to ensure there are no leaks.
Updated on 20 March 2026 by ScegliAuto
This video is currently unavailable
Related tutorials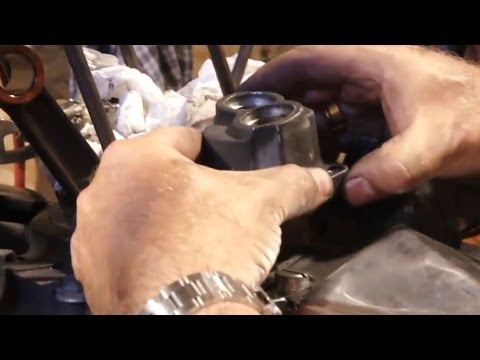
(Various brands) Various
The pushrods are located between the camshaft and the valves. They are secured to the engine block with four simple screws. Unscrew these screws, the…

(Various brands) Various
In this guide, you will learn when to replace the timing belt or chain on most vehicles. The timing belt and chain should be checked periodically, pe…

(Various brands) Various
The timing chain operates slightly differently from the timing belt, but it requires replacement less frequently and is much less likely to break. Ho…
Other guides you may be interested in
|
Frequently Asked QuestionsHow to Check the Oil Level on a Jeep Renegade?
To check the oil level on a Jeep Renegade, you need to open the bonnet to access the components inside the engine bay: on the lower left side of the engine block, you will find the dipstick for checking the level. This should be pulled out and thoroughly cleaned with a cloth: once cleaned, reinsert it back into its tube and pull it out immediately after. This way, you can check that the oil mark is between the minimum and maximum levels; finally, you can place the dipstick back in its tube. by ScegliAuto More videos
|
|
For advertising on this site Write to info@scegliauto.com
ScegliAuto is not responsible for any inaccuracy of the data in the lists. To report any inaccuracy or your business (if you own the business in question), please write to info@scegliauto.com
Number of seconds to generate the page: 0.199
(c) ScegliAuto 2026 - info@scegliauto.com - Privacy policy VAT number: IT01247470535 |
