
|
Do it yourself
| |||
| ||||


Replacing the Universal Lambda Sensor.
Model: (Various brands) Various
In this new tutorial video, you can see how to adapt the connectors on a universal lambda sensor by following a few simple steps. First, obtain an installation kit, plus the BOSCH branded sensor that is compatible with about 90% of vehicles; also, have grease ready for installing the sensor. The kit will include a diagram explaining how to perform the operation, which is very simple, with nothing complicated, along with a diagram showing the types of sensors and the various wires to connect for the adaptation. In our case, with a non-Bosch sensor, connect the blue wire to the black wire of the Bosch universal sensor; connect the two black wires to the two white wires and the white wire to the grey wire. Strip all the wires you need to connect and apply the connectors on both ends, following the order of the wires previously mentioned. Now apply grease to the threads of the sensor and replace the old sensor.
Updated on 30 April 2026 by ScegliAuto
Video tutorial
Related tutorials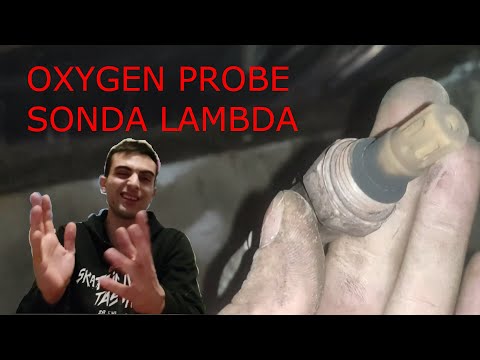
(Various brands) Various
Here’s how to clean the lambda sensor in an engine. The lambda sensor measures the percentage of oxygen in the exhaust gases, allowing for an assessm…

(Various brands) Various
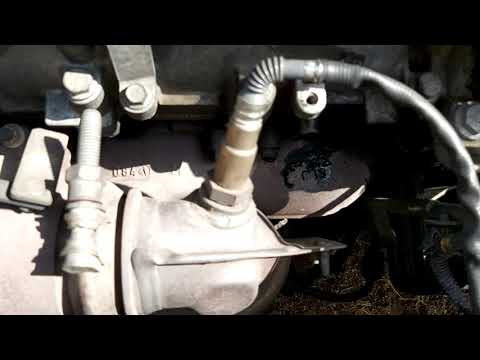
Is there an exhaust fume issue? Here’s how to replace the lambda sensor. Raise your car on a column lift; stop at a comfortable height for working an…
(Various brands) Various
The lambda sensor is a device that analyses and measures the presence of oxygen in the exhaust gases, allowing for the correct air-fuel ratio to be m…
Other guides you may be interested in
|
How to Check the Oil Level on a Jeep Renegade?
To check the oil level on a Jeep Renegade, you need to open the bonnet to access the components inside the engine bay: on the lower left side of the engine block, you will find the dipstick for checking the level. This should be pulled out and thoroughly cleaned with a cloth: once cleaned, reinsert it back into its tube and pull it out immediately after. This way, you can check that the oil mark is between the minimum and maximum levels; finally, you can place the dipstick back in its tube. by ScegliAuto More videos
|
|
For advertising on this site Write to info@scegliauto.com
ScegliAuto is not responsible for any inaccuracy of the data in the lists. To report any inaccuracy or your business (if you own the business in question), please write to info@scegliauto.com
Number of seconds to generate the page: 0.359
(c) ScegliAuto 2026 - info@scegliauto.com - Privacy policy VAT number: IT01247470535 |
