
|
Do it yourself
| |||
| ||||


How to Change the Front Shock Absorber on a Vespa 50.
Model: (Various brands) Various
In this video tutorial, see how to change the front shock absorber on a Vespa 50. The first step is to purchase a new shock absorber; the next step is to remove the front wheel of the Vespa to facilitate the removal of the front shock absorber. Use a screwdriver to remove the cover; once the cover is removed, you will need to unscrew two nuts. For this, use a 13 mm spanner and a 19 mm spanner. After removing the nuts with the washers, take off the lower part of the cover. Now you will have the shock absorber and the fork attachment with all the rollers. Next, remove the shock absorber from the inside; use a standard spanner to unscrew the 13 mm bolt located on the top of the shock absorber; to assist, you can use a pair of locking pliers to hold the top of the shock absorber. Once the 13 mm bolt is removed, simply slide out the shock absorber, and you are done. Now you can replace the old shock absorber by positioning the new one and reassembling all parts in reverse order.
Updated on 5 June 2026 by ScegliAuto
Video tutorial
Related tutorials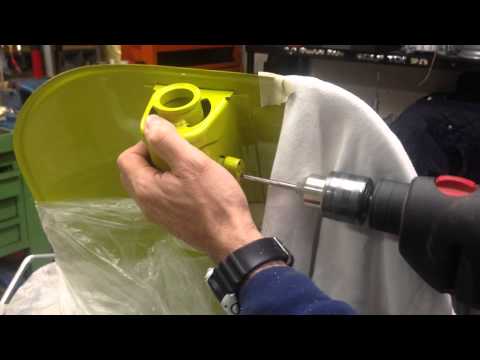
(Various brands) Various
This video explains how to remove the anti-theft device on a Vespa. This procedure can be useful if you lose the vehicle key. First, remove the cover…
(Various brands) Various
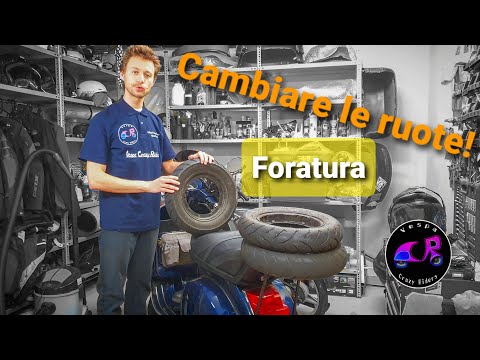
In this video tutorial, see how to replace the wheels on a Vespa PX when changing tyres. First, clean the rims with a universal cleaner and a microfi…
(Various brands) Various
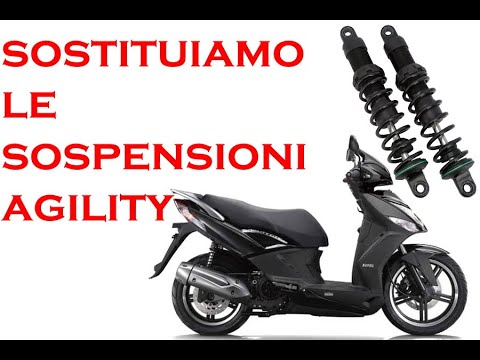
This tutorial shows how to replace the rear suspension on a Kymco Agility 125 in a few simple steps. The suspension is difficult to reach from behind…
Other guides you may be interested in
|
How to Open the Bonnet of a Renault Megane if the Lever is Broken?
If the lever that unlocks the bonnet of the Renault Megane is broken or not functioning, there is an emergency procedure to unlock the mechanism: remove the right front grille located at the top of the bumper. Once the grille is removed, you can locate the actuator mechanism: by pulling the spring in this position, you can unlock the actuator, allowing you to lift the bonnet and access the components located inside the engine compartment. You can then close the bonnet simply by lowering it. by ScegliAuto More videos
|
|
For advertising on this site Write to info@scegliauto.com
ScegliAuto is not responsible for any inaccuracy of the data in the lists. To report any inaccuracy or your business (if you own the business in question), please write to info@scegliauto.com
Number of seconds to generate the page: 0.158
(c) ScegliAuto 2026 - info@scegliauto.com - Privacy policy VAT number: IT01247470535 |
