
|
Do it yourself
| |||
| ||||


How to Install the Battery on a Yamaha MT07
Model: (Various brands) Various
The procedure for installing the battery on your Yamaha MT07 is very simple. Start by removing the two screws securing the seat at the back, one at the far right and the other at the far left, using an Allen key. Once these are removed, you can lift the seat and gain direct access to the motorcycle battery. To remove it, take off the battery mounting plate by unscrewing the four screws on its sides, two on one side and two on the other, also using an Allen key. At this point, only a few steps remain before accessing the battery directly; now remove the rubber strap that holds the battery in place on the tank side. Unscrew the battery terminals with a crosshead screwdriver, remembering to disconnect the negative (-) terminal first and then the positive (+) terminal. At this point, you can remove the battery, recharge it, and reinstall it or install a new one, then reassemble everything in the reverse order of disassembly, and you're done.
Updated on 24 June 2026 by ScegliAuto
Video tutorial
Related tutorials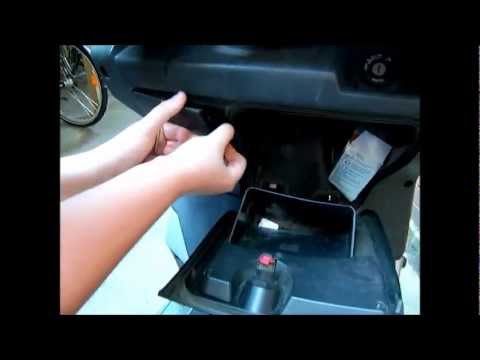
(Various brands) Various
To change the battery on the Yamaha Xmax, start by opening the front panel. Use a screwdriver to remove the 2 screws securing the cover. Once the cov…

(Various brands) Various
This tutorial video shows how to replace the battery of a Yamaha R6 motorcycle. The first step is to gather the necessary tools, including an Allen k…
(Various brands) Various
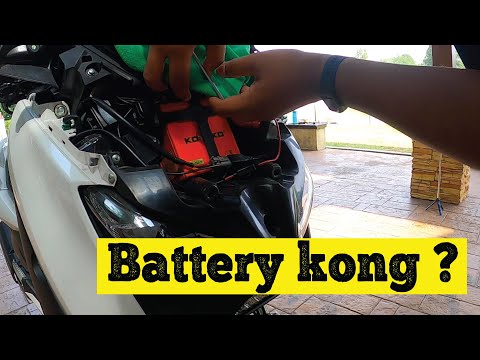
In this video, you will learn how to replace the battery of a Yamaha Max 400. Obtain an Allen key and unscrew the bolts at the ends of the motorcycle…
Other guides you may be interested in
|
Frequently Asked QuestionsHow to Check the Oil Level on a Jeep Renegade?
To check the oil level on a Jeep Renegade, you need to open the bonnet to access the components inside the engine bay: on the lower left side of the engine block, you will find the dipstick for checking the level. This should be pulled out and thoroughly cleaned with a cloth: once cleaned, reinsert it back into its tube and pull it out immediately after. This way, you can check that the oil mark is between the minimum and maximum levels; finally, you can place the dipstick back in its tube. by ScegliAuto More videos
|
|
For advertising on this site Write to info@scegliauto.com
ScegliAuto is not responsible for any inaccuracy of the data in the lists. To report any inaccuracy or your business (if you own the business in question), please write to info@scegliauto.com
Number of seconds to generate the page: 0.281
(c) ScegliAuto 2026 - info@scegliauto.com - Privacy policy VAT number: IT01247470535 |
