
|
Do it yourself
| |||
| ||||


How to Install a Reversing Camera on an Original Screen
Model: (Various brands) Various
In this video, you will see how to install a reversing camera on a vehicle equipped with an original screen. The procedure is the same for any type of vehicle, so it is universal. The reversing camera in the video can be found on Amazon with the code B012FQZ0A6 at the price of £20.99, with free delivery for Prime customers. The camera comes complete with the cable. To install it, lift the car and remove the rear bumper, so you can drill the bumper where you intend to pass the cable (where you want to position the camera, usually above the number plate); from there, run the cable through the vehicle under the upholstery, scuff plates, and seals until you reach the console, where you will connect it to the radio. Before closing everything up, test it by engaging reverse. If everything works, you can put everything back in place and the job is done.
Updated on 13 August 2026 by ScegliAuto
Video tutorial
Related tutorials
(Various brands) Various
Cars that are a few years old certainly do not have the latest technologies, so even options related to the car radio screen, entertainment, rear cam…
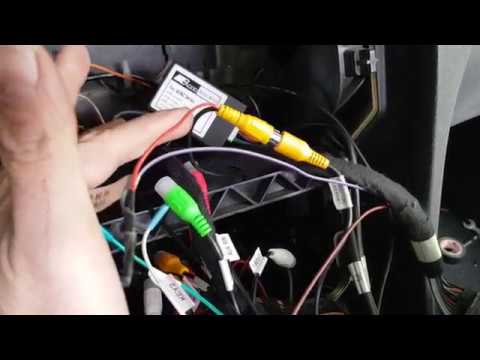
(Various brands) Various
Today, we will install a number plate reverse camera, which can be fitted to any vehicle. First, go to the back of the car and remove the number plat…

(Various brands) Various
In this video, we can see how to connect a rearview camera to an Android car radio. The parts we have are: the rear camera, extension cables, power c…
Other guides you may be interested in
|
Frequently Asked QuestionsHow to Replace the Battery on a Honda Vision 110
To replace the battery on a Honda Vision 110, you need to remove the front fairing of the motorcycle, located directly under the front headlamp. To loosen this panel, unscrew the two screws found at its top, just below the handlebar. Once these screws are loosened, lever under the panel to detach it, gaining access to the battery underneath: this battery must be removed from its housing by unscrewing the fixing screws and disconnecting the power cables, replacing it with a new one. by ScegliAuto More videos
|
|
For advertising on this site Write to info@scegliauto.com
ScegliAuto is not responsible for any inaccuracy of the data in the lists. To report any inaccuracy or your business (if you own the business in question), please write to info@scegliauto.com
Number of seconds to generate the page: 0.080
(c) ScegliAuto 2026 - info@scegliauto.com - Privacy policy VAT number: IT01247470535 |
