
|
Do it yourself
| |||
| ||||


How to Clean the AdBlue Injector on VAG Group Vehicles
Model: (Various brands) Various
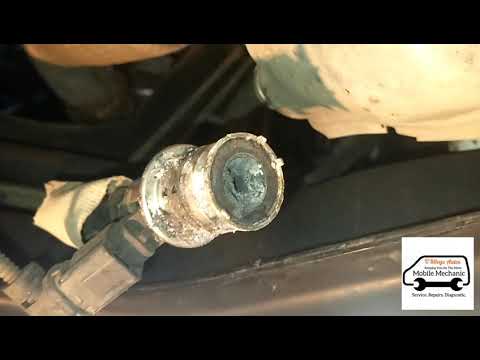
In this video, you will see how to clean the AdBlue injectors on VAG group vehicles. Specifically, this is a Volkswagen Sharan, but the procedure is the same for Audi, Seat, and Skoda. Lift the vehicle and secure it on two axle stands. Go underneath and locate the injector, which is exposed and easily accessible, about halfway along the catalytic converter. You will need an Allen key, but first, disconnect the electrical connector and the feed pipe. Once the injector is removed, you will see it is full of residue, and the pipe on the other side is in the same condition. To clean the valve, the presenter uses a secret technique: a plastic bottle filled with water, which is sprayed directly onto the valve. AdBlue is water-soluble, and a bit of water is enough to clean it perfectly. For the pipe, clean it with a small metal hook to ensure nothing falls into the catalytic converter. Now that everything is clean, refit the valve, reconnect the feed pipe and the electrical connector. Operation complete.
Updated on 14 September 2026 by ScegliAuto
Video tutorial
Related tutorials
(Various brands) Various
To test the AdBlue injector, you will need a 5/10 Volt power supply, connection cables, a rubber tube, and a multimeter. You can perform a bench test…
(Various brands) Various
The video refers to a French car from the PSA group. The mechanic accessed the injector, which was completely clogged. He removed it and soaked it fo…

(Various brands) Various
In this video we see the condition in which an AdBlue injector removed from its seat is found, after it has worked, perhaps not even for many kilomet…
Other guides you may be interested in
|
How to Replace the Battery on a Honda Vision 110
To replace the battery on a Honda Vision 110, you need to remove the front fairing of the motorcycle, located directly under the front headlamp. To loosen this panel, unscrew the two screws found at its top, just below the handlebar. Once these screws are loosened, lever under the panel to detach it, gaining access to the battery underneath: this battery must be removed from its housing by unscrewing the fixing screws and disconnecting the power cables, replacing it with a new one. by ScegliAuto More videos
|
|
For advertising on this site Write to info@scegliauto.com
ScegliAuto is not responsible for any inaccuracy of the data in the lists. To report any inaccuracy or your business (if you own the business in question), please write to info@scegliauto.com
Number of seconds to generate the page: 0.785
(c) ScegliAuto 2026 - info@scegliauto.com - Privacy policy VAT number: IT01247470535 |
