
|
Do it yourself
| |||
| ||||


How to adjust the handbrake on a Volkswagen Golf/Jetta MK5
Model: Volkswagen Golf
MK 5, Golf 5, Golf V
- Years 2003-2008
Before starting, check the condition of the rear brake pads and perform a functionality test. The quick adjustment of the lever can be accessed without removing the console: pull the handbrake lever all the way up, remove the rear cover, unlock the side clips with a flat screwdriver, and pull it upwards. We will see the adjustment nut, and while holding the counter nut steady, tighten the horn nut by a maximum of a couple of turns; the lever should engage at the 2nd/3rd click. If the first method does not work, raise the rear of the car, remove the wheels, pull the handbrake lever up by 1 click, and locate the adjustment nut on the brake cable, which is situated underneath the car, along the cable that runs from the center to the rear brakes (a threaded joint with two nuts). Loosen the lock and tighten the adjustment nut until the rear wheels turn freely by hand (without the handbrake engaged) but lock completely when the handbrake is pulled (2/3 clicks).
Posted on 23 December 2025 by ScegliAuto
Video tutorial
Related tutorials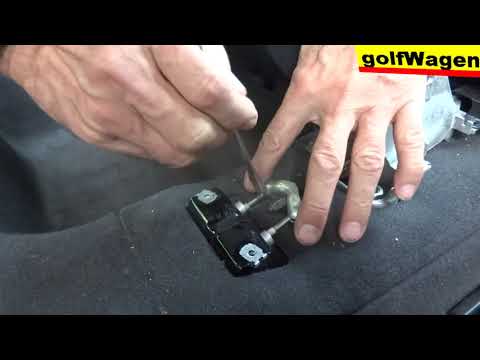
Volkswagen Golf
(2003-2008 /
MK 5, Golf 5, Golf V)
To adjust the handbrake on a Volkswagen Golf, loosen the screws that secure the plastic cover of the centre tunnel. Once these three screws are loose…

Volkswagen Golf
(2008-2012 /
MK 6, Golf VI, Golf 6, 5K1)
In order to adjust the handbrake of the Volkswagen Golf, you need to turn on the instrument panel by turning the key in the ignition switch: once the…

Volkswagen Golf
(2003-2008 /
MK 5, Golf 5, Golf V)
In this tutorial we can see how to adjust the handbrake in the Volkswagen Golf, a very simple and quick operation. First of all, we park the vehicle …
Other guides you may be interested in
|
How to set the clock on the Opel Zafira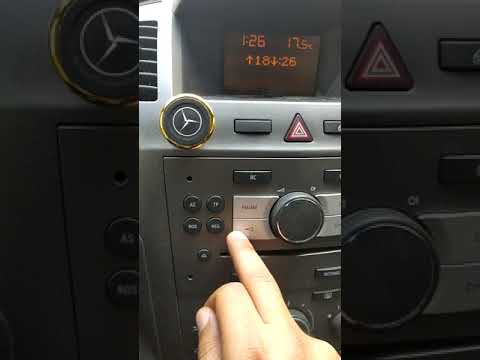
Setting the clock to the current Italian time on an Opel Zafira model B vehicle is a very simple operation, which can also be done independently thanks to our short instructional video. The first thing to do is to turn on the instrument panel and then press the SETTING button, located on the central dashboard. Once inside the menu, use the buttons to navigate to the clock setting. Change the hours and minutes and restart the instrument panel. If the clock is not updated, a diagnosis may be necessary at the radio or vehicle control unit. by ScegliAuto More videos
|
|
For advertising on this site Write to info@scegliauto.com
ScegliAuto is not responsible for any inaccuracy of the data in the lists. To report any inaccuracy or your business (if you own the business in question), please write to info@scegliauto.com
Number of seconds to generate the page: 0.208
(c) ScegliAuto 2026 - info@scegliauto.com - Privacy policy VAT number: IT01247470535 |
