
|
Do it yourself
| |||
| ||||


Replacement of Rear Brake Discs and Brake Pads
Model: Volkswagen Golf
MK 5, Golf 5, Golf V
- Years 2003-2008
Lift the vehicle on a lift and remove the wheel where the repair will take place. Unscrew the fastening bolts of the brake caliper located at the rear, remove the caliper itself along with the brake pads: to retract the caliper piston, a specific tool that allows the piston to rotate is necessary. Then unscrew the fastening bolts of the brake caliper bracket also located at the rear. Next, remove the fastening bolt of the brake disc and take off the disc; grind the hub to remove any oxidation before fitting the new disc. Finally, secure the new disc, reattach the caliper bracket, insert the new pads, and then the caliper, tightening the respective fastening bolts. Repeat the same process on the other side. Before driving, pump the brake pedal until it offers the correct resistance.
Updated on 4 February 2026 by ScegliAuto
Video tutorial
Related tutorials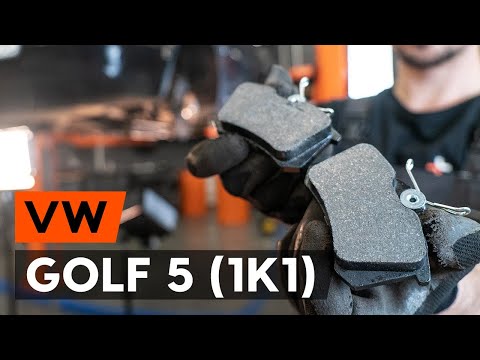
Volkswagen Golf
(2003-2008 /
MK 5, Golf 5, Golf V)
In this video tutorial, you will learn how to replace the rear brake pads on a Volkswagen Golf Mk5. First, remove the rear wheel bolts and take off t…
Volkswagen Golf
(2012-2019 /
Golf VII, MK 7, Golf 7)
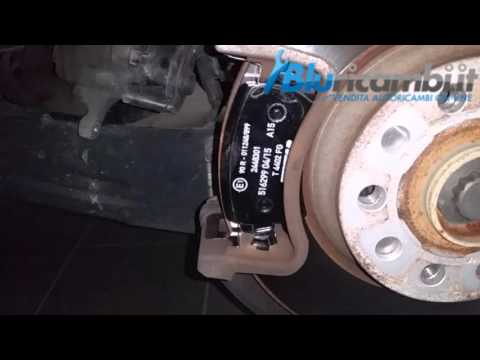
Let's see how to replace the rear brake pads on a Volkswagen Golf Mk7. Lift the car with a column lift (to the desired height), then remove the wheel…
Volkswagen Golf
(1997-2003 /
Golf IV, MK 4, Golf 4)
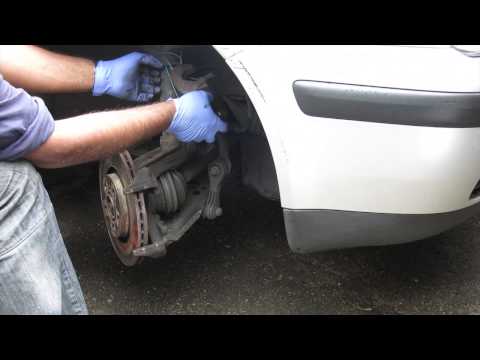
Lift the vehicle with a jack and remove the wheel; then unscrew the fastening pins of the brake caliper located at the rear (you may need to lever wi…
Other guides you may be interested in
|
How to Replace the Cabin Filter on the Opel Grandland X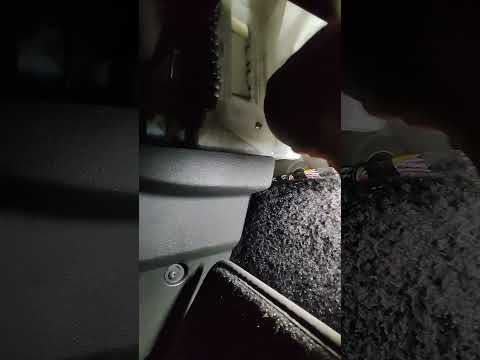
If you own an Opel Grandland X and want to know the steps to replace the cabin air filter, carefully read the following guide and follow the described steps. First, enter the vehicle and go to the passenger side. Then, locate the box containing the air filter in the lower side area of the dashboard. Remove the cover of the box and finally replace the old filter with the new one. Refit the cover, and you are done. by ScegliAuto More videos
|
|
For advertising on this site Write to info@scegliauto.com
ScegliAuto is not responsible for any inaccuracy of the data in the lists. To report any inaccuracy or your business (if you own the business in question), please write to info@scegliauto.com
Number of seconds to generate the page: 0.204
(c) ScegliAuto 2026 - info@scegliauto.com - Privacy policy VAT number: IT01247470535 |
