
|
Do it yourself
| |||
| ||||


How to Replace the Instrument Cluster Display on a Volkswagen Golf
Model: Volkswagen Golf
Golf 5, Golf V, MK 5
- Years:
2003, 2004, 2005, 2006, 2007, 2008
Video tutorial
The instructions in this guide will allow you to remove and replace the display of the instrument cluster on a Volkswagen Golf. First, get inside the vehicle and start by disassembling and removing the instrument cluster, unscrewing the fixing screws and disconnecting the wiring at the back; then, open the instrument cluster to access the electronic board and the display, as shown in the video. At this point, proceed to remove the display from the board, carrying out the repair or replacement; all that remains is to reassemble the instrument cluster!
Posted on 3 October 2026 by ScegliAuto
Related tutorials
Volkswagen Golf
(2012-2019 /
Golf 7, Golf VII, MK 7)
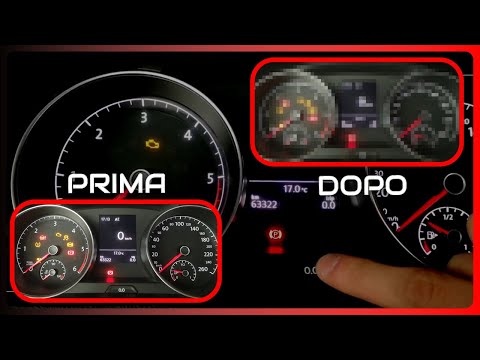
To remove the "Component protection active" message that appears on the display of the Volkswagen Golf, connect a diagnostic tool to the vehicle's OB…
Volkswagen Golf
(2012-2019 /
Golf 7, Golf VII, MK 7)
To reset the oil change service indicator on the Volkswagen Golf 7 (also applicable to Golf 5 and 6), follow these steps: open the door and access th…

Volkswagen Golf
(2008-2012 /
MK 6, Golf 6, Golf VI, 5K1)
Let's see how to reset the service light on a Volkswagen Golf Plus (which corresponds to a Golf VI). Turn on the ignition, having closed all the door…
ScegliAuto offers an extensive international collection of automotive tutorials available in 12 languages. Each guide combines instructional videos with original explanations written by experienced human editors, along with information about the car models covered.
Other guides you may be interested in
|
How to Replace the Headlight Bulb on a Mercedes A-Class W169?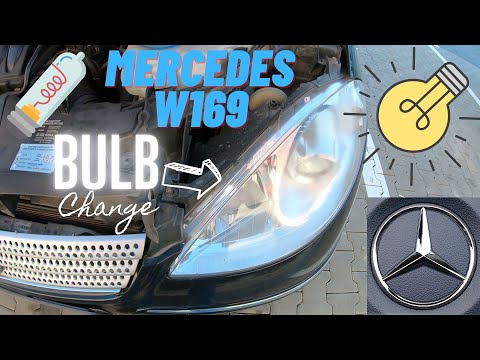
If one or more bulbs in the front headlights of your Mercedes A-Class W169 (2004-2012) are not functioning correctly, you need to replace them. This is a very simple task that takes just a few minutes. First, park the car safely and turn it off completely. Next, go to the front and lift the hood. Remove the protective cover located inside the engine compartment and take out the faulty bulb. Finally, insert the new replacement bulb and properly reattach the protective cover. Close the hood, and you're done. by ScegliAuto More videos
|
|
For advertising on this site Write to info@scegliauto.com
ScegliAuto is not responsible for any inaccuracy of the data in the lists. To report any inaccuracy or your business (if you own the business in question), please write to info@scegliauto.com
Number of seconds to generate the page: 0.024
(c) ScegliAuto 2026 - info@scegliauto.com - Privacy policy - About us VAT number: IT01247470535 |
