
|
Do it yourself
| |||
| ||||


How to Remove the Central Locking Button on the Driver's Door of a 2014 Volkswagen Touareg
Model: Volkswagen Touareg
MK 2, 7P
- Years 2010-2018
This guide shows how to remove the driver's door panel of the 2014 Volkswagen Touareg to replace the door locking buttons. The first step is to unscrew the screws located at the bottom of the panel, under the armrest, under the upper shell, and under the handle cover. In the last two positions, it is necessary to use a trim tool to avoid damaging the fittings. All these screws are Torx type. At this point, after disconnecting the electrical cables, you can pull the door panel to disengage it from the retaining clips. Be careful not to pull too hard on the panel, as this could damage the main electrical cables and the lock cable. At this point, the control cable for the lock button is blue; disconnect it using the tab. Use a flat screwdriver to pry at the sides of the component to remove it; replace the button with a new one and reconnect the cable. Following the previous steps in reverse, you can reassemble the panel and components. The replacement is now complete.
Updated on 17 April 2026 by ScegliAuto
Video tutorial
Related tutorials
Volkswagen Touareg
(2010-2018 /
MK 2, 7P)
In this tutorial we can see how to deactivate the passenger airbag in the Volkswagen Touareg, an extremely simple and quick operation, which must be …
Volkswagen Touareg
(2010-2018 /
MK 2, 7P)
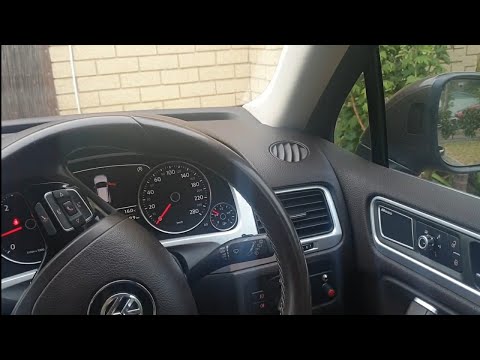
This tutorial shows how to remove the driver's door panel on a Volkswagen Touareg, a very simple and quick operation. Start by opening the door in qu…

Volkswagen Touareg
(2010-2018 /
MK 2, 7P)
In this guide, you will find instructions to disable the automatic door locking of the Volkswagen Touareg in simple steps. First, get inside the vehi…
Other guides you may be interested in
|
How to Set the Clock on the Opel Zafira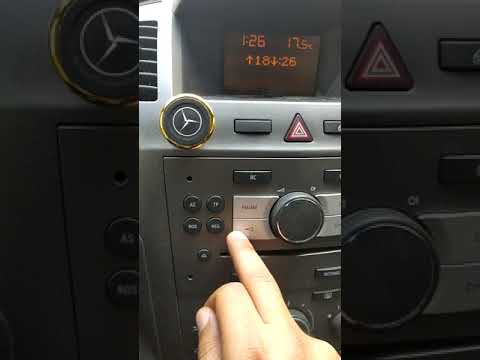
Setting the clock to the current Italian time on an Opel Zafira model B is a very simple operation, also made easier by our short instructional video. The first step is to turn on the instrument panel and then press the SETTING button located on the central dashboard. Once inside the menu, use the buttons to navigate to the clock setting. Adjust the hours and minutes and restart the instrument panel. If the clock does not update, it may be necessary to diagnose the radio or the vehicle's control unit. by ScegliAuto More videos
|

|
For advertising on this site Write to info@scegliauto.com
ScegliAuto is not responsible for any inaccuracy of the data in the lists. To report any inaccuracy or your business (if you own the business in question), please write to info@scegliauto.com
Number of seconds to generate the page: 0.092
(c) ScegliAuto 2026 - info@scegliauto.com - Privacy policy VAT number: IT01247470535 |
