
|
Do it yourself
| |||
| ||||


Fuse Box Diagram for Volkswagen Crafter
Model: Volkswagen Crafter
2F, MK 1, 2E
- Years:
2006, 2007, 2008, 2009, 2010, 2011, 2012, 2013, 2014, 2015, 2016, 2017
Video tutorial
This vehicle has multiple fuse boxes. The first box is located in the engine compartment above the battery, a second box is on the left pillar of the driver's door, and two small boxes are positioned under the driver's seat. You can find the complete diagram and electrical schematic of the vehicle in the instructions and the user manual. In the fuse box under the driver's seat, you will find, among others, the fuses for the front electric window lifts, the windscreen wipers, the gearbox control unit, the fuel filter heater, and the rear wash wipe.
Updated on 23 May 2026 by ScegliAuto
Related tutorials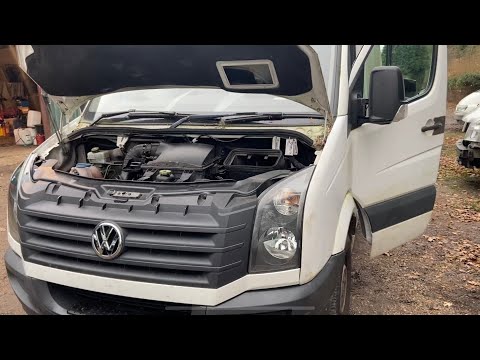
Volkswagen Crafter
(2006-2017 /
2F, MK 1, 2E)
In this guide, we will look at the location of the fuse boxes and how to find their diagram for the Volkswagen Crafter. First, get inside the vehicle…

Volkswagen Crafter
(2017-2026 /
SY, SZ, MK 2)
The instructions in this guide will show you the positioning and diagram of the fuses in the Volkswagen Crafter. First, open the engine compartment o…

Volkswagen Crafter
(2017-2026 /
SY, SZ, MK 2)
The instructions in this guide will allow you to access the internal fuse box of the Volkswagen Crafter, as well as retrieve the fuse diagram. First,…
ScegliAuto offers an extensive international collection of automotive tutorials available in 12 languages. Each guide combines instructional videos with original explanations written by experienced human editors, along with information about the car models covered.
Other guides you may be interested in
|
Frequently Asked QuestionsHow to Replace the Headlight Bulb on a Mercedes A-Class W169?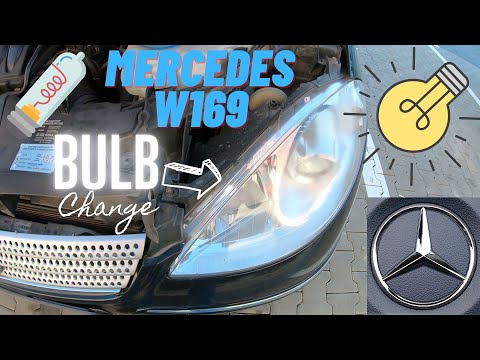
If one or more bulbs in the front headlights of your Mercedes A-Class W169 (2004-2012) are not functioning correctly, you need to replace them. This is a very simple task that takes just a few minutes. First, park the car safely and turn it off completely. Next, go to the front and lift the hood. Remove the protective cover located inside the engine compartment and take out the faulty bulb. Finally, insert the new replacement bulb and properly reattach the protective cover. Close the hood, and you're done. by ScegliAuto More videos
|
|
For advertising on this site Write to info@scegliauto.com
ScegliAuto is not responsible for any inaccuracy of the data in the lists. To report any inaccuracy or your business (if you own the business in question), please write to info@scegliauto.com
Number of seconds to generate the page: 0.148
(c) ScegliAuto 2026 - info@scegliauto.com - Privacy policy - About us VAT number: IT01247470535 |
