
|
Do it yourself
| |||
| ||||


How to Program the Key of a Volkswagen Jetta with CJ4
Model: Volkswagen Jetta
MK 6, A6
- Years 2010-2018
In this video, see how the alarm control works on the Volkswagen Jetta using the CJ4: the battery must be charged to at least 12.5 volts, and you need a key to turn on the ignition. Connect the CJ4 to the vehicle with the cable, and you will immediately see the main menu. Press the enter button and select the brand of your vehicle, Volkswagen. Now search the menu for central locking and select the "comfort system" and press "enter". Wait a moment for the data processing, then search for "adaptation", press "enter" again, and there find the channel for the vehicle, which in this case is number 1, then press "enter" again. It shows what you are doing, then press "enter" once more. Wait a moment for the procedure, and then accept. Now the key is programmed, but check the remote control functions.
Updated on 25 July 2026 by ScegliAuto
Video tutorial
Related tutorials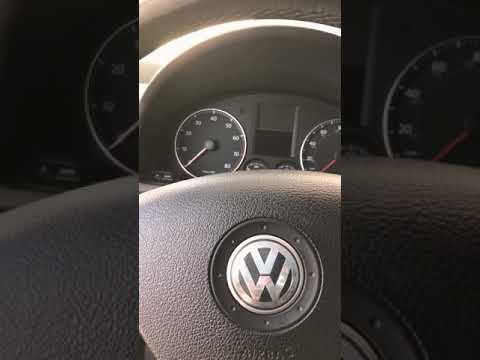
Volkswagen Jetta
(2005-2010 /
MK 5, A5)
Here are the instructions to program the key remote of the Volkswagen Jetta. First, ensure you have the already programmed spare key nearby; then clo…

Volkswagen Jetta
(2010-2018 /
MK 6, A6)
In order to program the key on the Volkswagen Jetta, you need to insert the key you want to program into the ignition lock: once the key is inserted,…

Volkswagen Jetta
(2010-2018 /
MK 6, A6)
To programme the key for the Volkswagen Jetta, insert it into the ignition switch and connect the diagnostic tool to the vehicle's OBD port. Once the…
Other guides you may be interested in
|
Where is the Spare Wheel in the Peugeot 5008?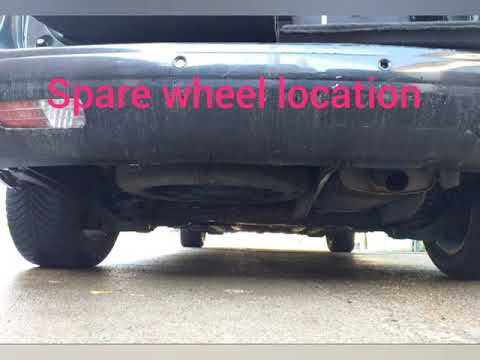
This video shows where the spare wheel is located in the Peugeot 5008 and how to access it, useful in case of a puncture. As shown, the wheel is not in the usual boot compartment but underneath it, outside the vehicle. To free the wheel, first gather the tools provided, then open the boot, locate the small indicated hatch, and open it. Next, loosen the bolt just released using the large socket wrench enough to lower the wheel to the ground. by ScegliAuto More videos
|

|
For advertising on this site Write to info@scegliauto.com
ScegliAuto is not responsible for any inaccuracy of the data in the lists. To report any inaccuracy or your business (if you own the business in question), please write to info@scegliauto.com
Number of seconds to generate the page: 0.224
(c) ScegliAuto 2026 - info@scegliauto.com - Privacy policy VAT number: IT01247470535 |
