
|
Do it yourself
| |||
| ||||


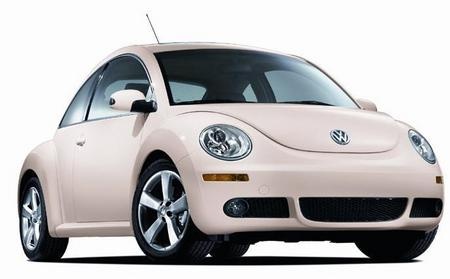
Fuse Diagram and Placement for the Volkswagen New Beetle
Model: Volkswagen New Beetle
MK 2, 9C
- Years:
1999, 2000, 2001, 2002, 2003, 2004, 2005, 2006, 2007, 2008, 2009, 2010
Video tutorial
Below is the diagram and placement of the fuses for the Volkswagen New Beetle, following these simple steps. First, locate the internal fuse box found on the driver's side by removing the side plastic cover; you will find the internal fuses underneath, as shown in the video. Next, open the bonnet and remove the plastic cover located next to the battery, thus accessing the external fuse box; in the vehicle's user and maintenance manual, you will find the diagram and layout of the fuses, which will help you identify and replace any blown fuse!
Updated on 10 September 2026 by ScegliAuto
Related tutorials
Volkswagen New Beetle
(2011-2018 /
MK 3)
We will briefly discover the instructions regarding the diagram and positioning of the fuse boxes of the Volkswagen New Beetle. First, let's open the…

Volkswagen New Beetle
(1999-2012 /
MK 2, 9C)
Today we will discover the instructions related to the layout and positioning of the external fuse box of the Volkswagen New Beetle. First, we open t…

Volkswagen New Beetle
(1999-2012 /
MK 2, 9C)
In today's video, the positioning and removal of the external fuse box on the Volkswagen New Beetle is shown. First, open the bonnet of the vehicle a…
ScegliAuto offers an extensive international collection of automotive tutorials available in 12 languages. Each guide combines instructional videos with original explanations written by experienced human editors, along with information about the car models covered.
Other guides you may be interested in
|
How to Replace the Thermostat on a Fiat Panda 169
This video outlines all the necessary steps to replace the thermostat on a Fiat Panda 169, including how to replace the temperature sensor. By following the steps in this video, you can replace the faulty thermostat on your Fiat Panda yourself, saving on labour costs charged by a garage. This job will require some time and specific tools to disassemble and reassemble everything attached to the thermostat to replace it without causing damage to the vehicle. by ScegliAuto More videos
|
|
For advertising on this site Write to info@scegliauto.com
ScegliAuto is not responsible for any inaccuracy of the data in the lists. To report any inaccuracy or your business (if you own the business in question), please write to info@scegliauto.com
Number of seconds to generate the page: 0.115
(c) ScegliAuto 2026 - info@scegliauto.com - Privacy policy - About us VAT number: IT01247470535 |
