
|
Do it yourself
| |||
| ||||


Replacing Rear Headlight Bulb
Model: Volvo Xc90
MK 1
- Years 2002-2014
To replace the bulb, you only need a screwdriver and a ratchet wrench. To replace the bulb, you must disassemble the entire lighting assembly. The screws are difficult to access under the soundproof cover in the trunk near the headlight. After removing the two screws with the ratchet wrench, remove the headlight by first disconnecting the connector. Once the headlight is removed, you can access the bulb holder. Carefully remove the bulb holder from its seat and replace the faulty bulb by pressing it slightly and turning it counterclockwise until it unlocks. Reinsert the new bulb using one with the same specifications. Reinstall the screws for the bulb holder and reposition the headlight assembly, connecting the corresponding connector. Tighten the screws carefully.
Updated on 4 February 2026 by ScegliAuto
Video tutorial
Related tutorials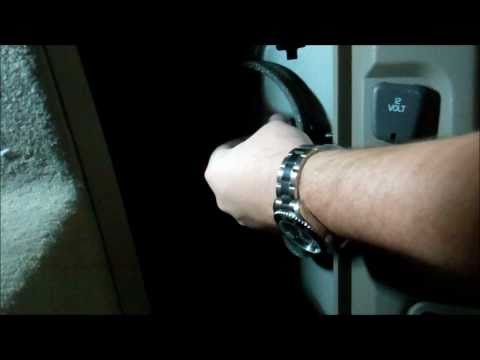
Volvo Xc90
(2002-2014 /
MK 1)
To replace the rear tail light bulb, open the trunk, lift the support panel, and remove the side carpet cover located just behind the tail light by p…
Volvo Xc90
(2002-2014 /
MK 1)
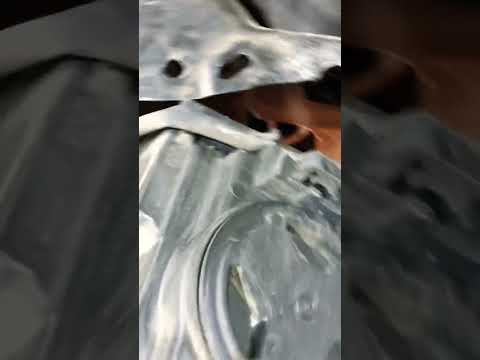
If you own a first-generation Volvo XC90 (2002-2014) and want to replace the headlight bulb yourself, follow these steps. First, turn off the vehicle…

Volvo Xc90
(2002-2014 /
MK 1)
Today's instructions will allow you to disassemble and replace the turn signal bulb in the front headlight of the Volvo XC90. First, open the hood of…
Other guides you may be interested in
|
How to Open a Stuck Boot on the Peugeot 407?
On the Peugeot 407, the boot may become stuck, possibly due to a problem with the control button or the lock actuator. In such cases, you can perform an emergency opening by following the simple procedure shown in this tutorial. First, open the rear doors, then lower the seat back by operating the release lever. Next, go inside the boot, locate the lock, and manually operate it using a flathead screwdriver. The boot will then be free to open. by ScegliAuto More videos
|
|
For advertising on this site Write to info@scegliauto.com
ScegliAuto is not responsible for any inaccuracy of the data in the lists. To report any inaccuracy or your business (if you own the business in question), please write to info@scegliauto.com
Number of seconds to generate the page: 0.168
(c) ScegliAuto 2026 - info@scegliauto.com - Privacy policy VAT number: IT01247470535 |
