
|
Do it yourself
| |||
| ||||


Volvo Xc90 - Tail light bulbTail Light Bulb Volvo Xc90 (2015-2026 / mk 2) Volvo Xc90 (2015-2026 / MK 2)
Replacement of the rear fog light bulb of the Volvo XC 90 MK2 The rear fog light mounted on the Volvo XC 90 proves to be useful for signaling our presence to the cars following us, especially on foggy days. Therefore, it …Read all… Posted on 8 July 2024 by ScegliAuto 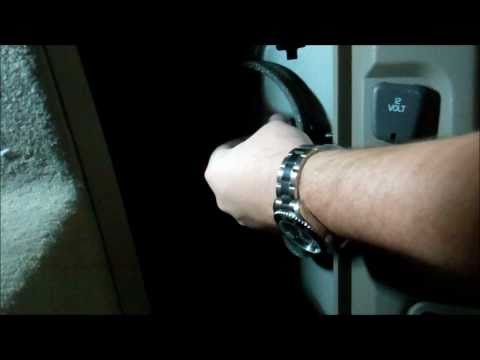 Volvo Xc90 (2002-2014 / MK 1)
Rear Tail Light Bulb Replacement To replace the rear tail light bulb, open the trunk, lift the support panel, and remove the side carpet cover located just behind the tail light by pulling it …Read all… Posted on 7 February 2026 by ScegliAuto 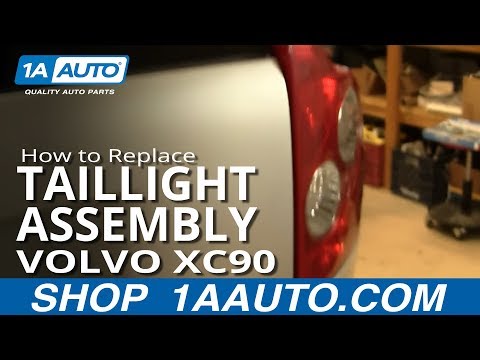 Volvo Xc90 (2002-2014 / MK 1)
Replacing Rear Headlight Bulb To replace the bulb, you only need a screwdriver and a ratchet wrench. To replace the bulb, you must disassemble the entire lighting assembly. The screws are …Read all… Posted on 6 February 2026 by ScegliAuto Tail Light Bulb Volvo Xc90 (2002-2014 / mk 1)
Volvo Xc90 (2015-2026 / MK 2)Replacement of the rear fog light bulb of the Volvo XC 90 MK2 The rear fog light mounted on the Volvo XC 90 proves to be useful for signaling our presence to the cars following us, especially on foggy days. Therefore, it …Read all… Posted on 8 July 2024 by ScegliAuto
Volvo Xc90 (2002-2014 / MK 1)Rear Tail Light Bulb Replacement To replace the rear tail light bulb, open the trunk, lift the support panel, and remove the side carpet cover located just behind the tail light by pulling it …Read all… Posted on 7 February 2026 by ScegliAuto
Volvo Xc90 (2002-2014 / MK 1)Replacing Rear Headlight Bulb To replace the bulb, you only need a screwdriver and a ratchet wrench. To replace the bulb, you must disassemble the entire lighting assembly. The screws are …Read all… Posted on 6 February 2026 by ScegliAuto Shocks (1) Car stereo (4) Battery (9) Ignition coil (1) Control arm (3) Spark plugs (3) Body (1) Key (15) Trunk lock (1) Timing belt (9) Onboard computer (7) Checks and maintenance (12) Dashboard (1) Shifter boot (1) Bearing (1) Brake rotors (2) Headlight (1) Tail light (2) Fog lights (1) Air filter (3) Cabin air filter (6) Fuel filter (1) Diesel fuel filter (4) Oil filter (1) Parking brake (7) Window switch (1) Accessory kit (1) Light bulb (2) Side marker bulb (2) Headlight bulb (6) Tail light bulb (3) Antifreeze coolant (1) Handle (6) Engine oil (4) Clock (2) Door trim panel (5) Brake pads (1) Shift knob (1) Car door (1) Instrument cluster (2) Radiator (2) Heater core (1) Fuse box (10) Seat (2) Suspension system (1) Side mirror (2) AdBlue warning light (1) Warning light – error code (6) (18) Tire pressure warning light (2) Service warning light (63) Fuel cap (2) Windshield wipers (4) Tie rods (1) Drivetrain (1) Center console tunnel (1) |
How to Reset the Tyre Pressure Warning Light on the Hyundai Tucson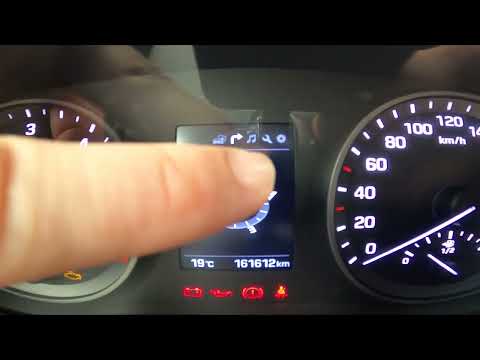
Today, we will discover the instructions that will allow you to reset the tyre pressure warning light (TPMS) on the Hyundai Tucson; before performing the reset, ensure that all four tyres are at the correct operating pressure. Then, get in the vehicle and start the ignition; next, navigate to the onboard computer settings using the controls on the steering wheel until you reach the tyre pressure monitoring section, as shown in the video. At this point, confirm and execute the reset of the TPMS warning light! by ScegliAuto More videos
|
|
For advertising on this site Write to info@scegliauto.com
ScegliAuto is not responsible for any inaccuracy of the data in the lists. To report any inaccuracy or your business (if you own the business in question), please write to info@scegliauto.com
Number of seconds to generate the page: 0.017
(c) ScegliAuto 2026 - info@scegliauto.com - Privacy policy VAT number: IT01247470535 |
