
|
Do it yourself
| |||
| ||||


How to Install or Replace the Internal Door Handle
This video guide explains how to replace the internal door handle of the Volvo S-70. First, remove the panel on the armrest and access one of the screws securing the door panel: unscrew it with a screwdriver (size 25). Use your fingers to detach the trim of the small compartment where the handle is located. Now, use a lever to detach the six clips that secure the edges of the door panel. Also, remove the panel near the side mirror. Take off the door panel. Disconnect the connections and retrieve the previously detached clips. Using the screwdriver (size 25), unscrew the screws from the handle housing, then detach the cable with your fingers. Now, reattach (or replace with a new one) the handle to the cable and reposition the four securing screws. Refit the door panel (not before reconnecting the cables), screw the securing screw back in the armrest compartment, and replace its small cover. Reattach the trim of the small compartment for the handle and reposition the panel near the mirror.
Updated on 4 February 2026 by ScegliAuto
Video tutorial
Related tutorials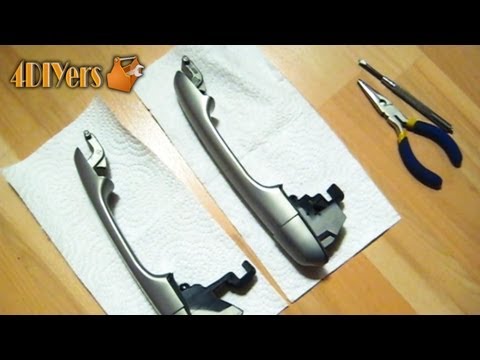
Volvo S70
(1996-2000 /
MK 1)
If you need to separate the fixed part from the movable part of the door handle after removing it from the door, for example, to paint the handle pro…
Volvo S70
(1996-2000 /
MK 1)
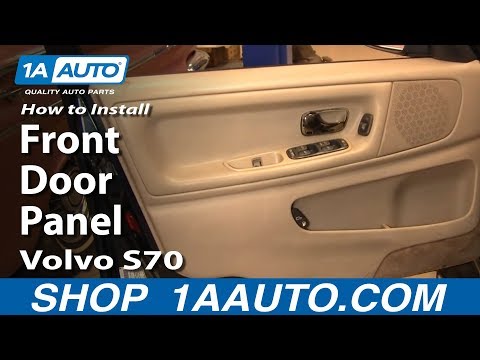
This video shows you how to remove the inner trim panel of a Volvo S70 door. First, disconnect the battery. Lift and remove the small plastic cover l…
Volvo S70
(1996-2000 /
MK 1)
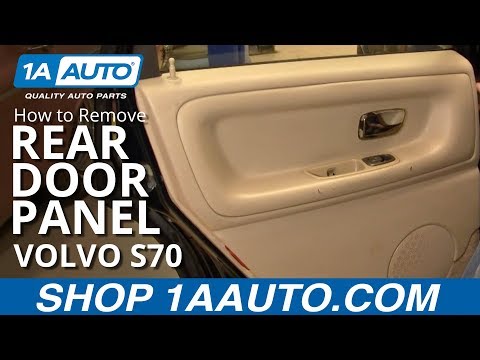
Remove the protective cap inside the handle of the internal door and unscrew the underlying screw; remove the frame around the opening lever and, usi…
Other guides you may be interested in
|
How to Check the Oil Level on a Jeep Renegade?
To check the oil level on a Jeep Renegade, you need to open the bonnet to access the components inside the engine bay: on the lower left side of the engine block, you will find the dipstick for checking the level. This should be pulled out and thoroughly cleaned with a cloth: once cleaned, reinsert it back into its tube and pull it out immediately after. This way, you can check that the oil mark is between the minimum and maximum levels; finally, you can place the dipstick back in its tube. by ScegliAuto More videos
|
|
For advertising on this site Write to info@scegliauto.com
ScegliAuto is not responsible for any inaccuracy of the data in the lists. To report any inaccuracy or your business (if you own the business in question), please write to info@scegliauto.com
Number of seconds to generate the page: 0.467
(c) ScegliAuto 2026 - info@scegliauto.com - Privacy policy VAT number: IT01247470535 |
