
|
Do it yourself
| |||
| ||||


How to disassemble the rear headlight of a Volvo V90?
Model: Volvo V90
MK 1
- Years 2016-2024
To disassemble the rear headlight of a Volvo V90, start by opening the trunk and removing the inner trim panel located in the rear, near the headlight. This panel is often secured with clips or screws, so you will need to remove these elements to access the headlight mounting bolts. Once the trim is removed, locate the bolts holding the headlight in place; these bolts are usually located along the edges of the headlight. Use a wrench or ratchet to loosen and remove them. After removing the bolts, gently pull the headlight out of its housing. Disconnect the electrical connectors that power the headlight lights by pressing on the tabs and disconnecting them. Once disconnected, the headlight is ready to be replaced or repaired. Follow these steps in reverse order to install the new headlight. Make sure all bolts are securely tightened and connectors are properly connected before reattaching the trim panel.
Posted on 7 August 2024 by ScegliAuto
Video tutorial
Related tutorials
Volvo V90
(2016-2024 /
MK 1)
You can replace the battery in the Volvo V90 by opening the rear compartment to access the components inside the engine bay: here you will find the c…

Volvo V90
(2016-2024 /
MK 1)
You can clear the Service light on the Volvo V90 by pressing and holding the button located at the bottom of the left steering wheel spoke. While hol…
Volvo V90
(2016-2024 /
MK 1)
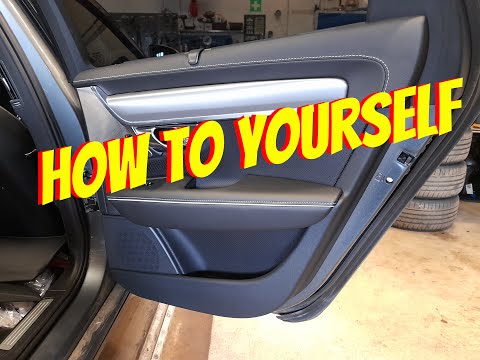
Discover in this brief and simple guide how to remove and replace the rear door panel of the Volvo V90. First, open the rear door of your vehicle and…
Other guides you may be interested in
|
How to Check the Oil Level on a Jeep Renegade?
To check the oil level on a Jeep Renegade, you need to open the bonnet to access the components inside the engine bay: on the lower left side of the engine block, you will find the dipstick for checking the level. This should be pulled out and thoroughly cleaned with a cloth: once cleaned, reinsert it back into its tube and pull it out immediately after. This way, you can check that the oil mark is between the minimum and maximum levels; finally, you can place the dipstick back in its tube. by ScegliAuto More videos
|
|
For advertising on this site Write to info@scegliauto.com
ScegliAuto is not responsible for any inaccuracy of the data in the lists. To report any inaccuracy or your business (if you own the business in question), please write to info@scegliauto.com
Number of seconds to generate the page: 0.393
(c) ScegliAuto 2026 - info@scegliauto.com - Privacy policy VAT number: IT01247470535 |
