
|
Do it yourself
| |||
| ||||


How to Install a Rear Camera on the Alfa Romeo Giulietta
Model: Alfa Romeo Giulietta
MK 1
- Years 2010-2020
In this video, see how to install a rear camera. The vehicle in question is an Alfa Romeo Giulietta, but the system applies to all cars. The camera shown in the video can be found on Amazon with code B08RDCR8DY for £59.90, with free delivery for Prime customers. You need to remove the rear bumper to access the wiring; then remove the rear passenger side pillar; next, take off the rear and front scuff plates (also on the passenger side) and the upper part of the dashboard, then pull the wire that comes out in the radio compartment; connect the yellow plug from the camera and link the yellow wire with the pink one. Now, refit the stereo. Next, find the reverse power supply (in this case, it’s grey/black) and connect it, then position the rear camera at the centre of the number plate holder. There is also an overhead view which is very useful.
Updated on 26 July 2026 by ScegliAuto
Video tutorial
Related tutorials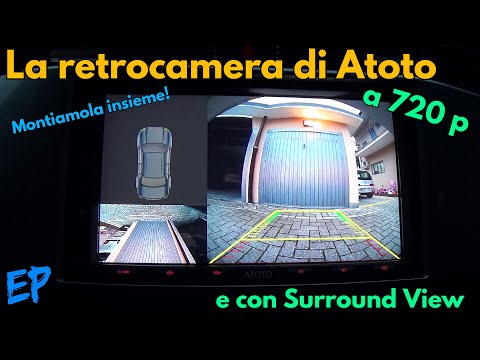
Alfa Romeo Giulietta
(2010-2020 /
MK 1)
This guide provides instructions for installing the rear camera on the Alfa Romeo Giulietta in simple steps. The compatible kit must be suitable for …
Alfa Romeo Giulietta
(2010-2020 /
MK 1)
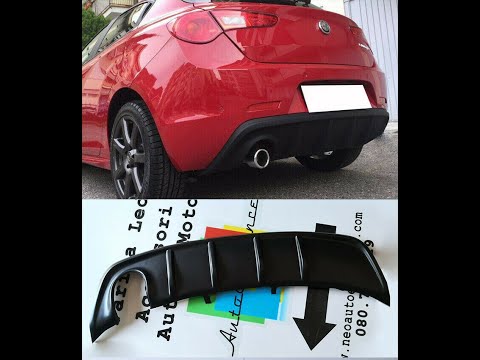
To install the rear dam on the Alfa Romeo Giulietta, loosen the screws securing the bumper and remove it, disconnecting the connectors as well. Once …

Alfa Romeo Giulietta
(2010-2020 /
MK 1)
In today's video, see a very simple aesthetic operation to perform on the Alfa Romeo Giulietta. Specifically, how to replace the manufacturer's badge…
Other guides you may be interested in
|
Frequently Asked QuestionsFuses Location and Diagram for the Volkswagen Crafter
In this guide, we will look at the location of the fuse boxes and how to find their diagram for the Volkswagen Crafter. First, get inside the vehicle and start by removing the plastic cover found under the steering wheel, to access the internal fuse box; you will find another fuse box in the engine compartment by removing the plastic cover located next to the battery. At this point, use the owner's manual to find the fuse diagram, which will allow you to identify and replace any blown fuses with new ones! by ScegliAuto More videos
|

|
For advertising on this site Write to info@scegliauto.com
ScegliAuto is not responsible for any inaccuracy of the data in the lists. To report any inaccuracy or your business (if you own the business in question), please write to info@scegliauto.com
Number of seconds to generate the page: 0.067
(c) ScegliAuto 2026 - info@scegliauto.com - Privacy policy VAT number: IT01247470535 |
