
|
Do it yourself
| |||
| ||||


How to replace the driveshaft of the Audi A3 MK2
Model: Audi A3
MK 2, 8P
- Years 2003-2013
In this video we see how to replace the drive shaft of an Audi A3 MK2: First, put the car in fifth gear, then lift the front of the vehicle and remove the wheel on the driver's side; unscrew the fixing nuts of the control arms using a 16mm socket wrench, then unscrew the three bolts of the control arms; now we can remove the drive shaft from the wheel hub, then remove the six screws that secure the drive shaft to the gearbox, and the three half-moon spacers. With an extension, unscrew the first fixing screw of the drive shaft, which can be removed; put the car in neutral to rotate the driveshaft, then put it back in fifth gear and remove the other screw, continue until all are removed and remove the driveshaft. Now we start to position the new component, putting back the screws and the spacers, then screw the spacer into the wheel hub. Screw in the three bolts, then screw in the central screw. We can then put the wheel back in place and move to the other side.
Posted on 17 February 2025 by ScegliAuto
Video tutorial
Related tutorials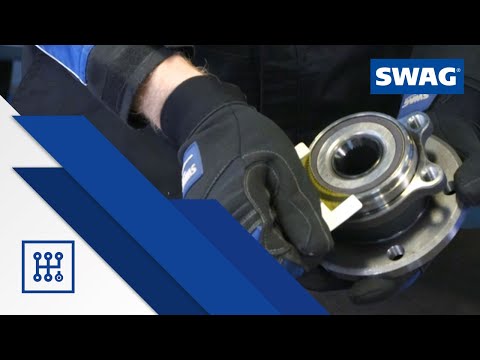
Audi A3
(2003-2013 /
MK 2, 8P)
In this tutorial, see how to replace the front wheel bearing on an Audi A3, a straightforward task but one that requires good manual skills. First, l…
Audi A3
(2003-2013 /
MK 2, 8P)
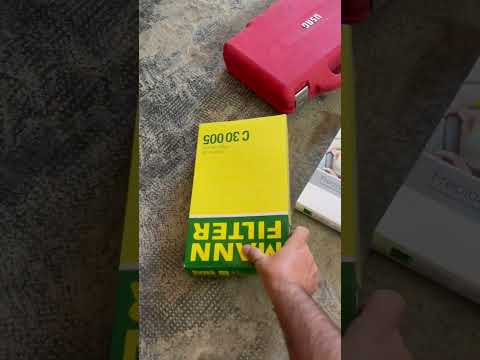
To correctly replace the air filter on your Audi A3 Mk2 (2003-2013), follow the steps below. Before you start, remember that this maintenance task mu…

Audi A3
(2003-2013 /
MK 2, 8P)
Replace the damaged bulbs in the rear headlight of an Audi A3. Open the boot lid and remove the cover cap from the frame. Unscrew the plastic retaini…
Other guides you may be interested in
|
How to Open the Bonnet of a Renault Megane if the Lever is Broken?
If the lever that unlocks the bonnet of the Renault Megane is broken or not functioning, there is an emergency procedure to unlock the mechanism: remove the right front grille located at the top of the bumper. Once the grille is removed, you can locate the actuator mechanism: by pulling the spring in this position, you can unlock the actuator, allowing you to lift the bonnet and access the components located inside the engine compartment. You can then close the bonnet simply by lowering it. by ScegliAuto More videos
|

|
For advertising on this site Write to info@scegliauto.com
ScegliAuto is not responsible for any inaccuracy of the data in the lists. To report any inaccuracy or your business (if you own the business in question), please write to info@scegliauto.com
Number of seconds to generate the page: 0.751
(c) ScegliAuto 2026 - info@scegliauto.com - Privacy policy VAT number: IT01247470535 |
