
|
Do it yourself
| |||
| ||||


How to install the rear camera on an Audi A1
Model: Audi A1
8X, MK 1
- Years 2010-2018
In this video, we see how to install a rear camera on a 2016 Audi A1 that does not have one. We can find all the equipment, from the camera to the long cable to the adapter, on AliExpress at very low prices, with the respective codes 1005003330886339 at 2.47 euros; 1005005986956746 at 1.37 euros and 1005005342759888 at 6.15 euros. However, we must ensure that our car meets a minimum prerequisite. By pressing the "media" button on our stereo and then "source", the screen should display the word "ami", otherwise we will have to activate it with the VCDS. We start by removing the rear hood cover, gradually removing the screws (which we will carefully keep) and removing the plastic clips that we will find along our path. We then remove the pillars and the door sills inside, until we reach the front glove compartment. We pass the wire through the entire car - it will be necessary to make a small hole in the glove compartment - and of course in the rear hood to pass the camera wire through. We remove the taillights and test the wires to see which wires have the reverse power, and then install the camera in its hole and connect the cables. We then do a functionality test. The youtuber then replaced the super-cheap camera with one that also had a wide angle (you get what you pay for).
Posted on 30 May 2025 by ScegliAuto
Video tutorial
Related tutorials
Audi A1
(2018-2025 /
MK 2, GB)
Let’s see how to install a handle with an integrated camera on an Audi A1. To do this, you need to completely dismantle the rear tailgate, removing t…
Audi A1
(2010-2018 /
8X, MK 1)
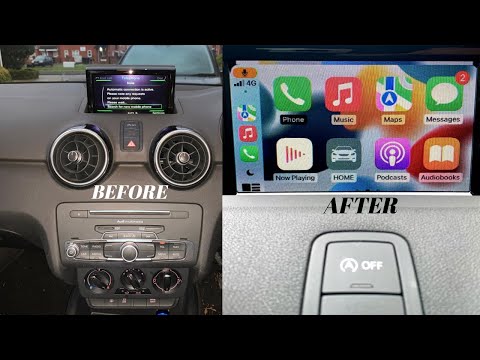
Today's step-by-step instructions will show you how to remove and replace the standard radio with a compatible Apple CarPlay and Android Auto unit fo…

Audi A1
(2010-2018 /
8X, MK 1)
To replace the battery inside the key of your first-generation Audi A1 by yourself, you need to follow a procedure that is practically identical to t…
Other guides you may be interested in
|
How to Bleed the Clutch on a Renault Clio?
To bleed the clutch on a Renault Clio, open the bonnet to access the components located in the engine bay: here, you will need to undo the screws that secure the battery in its housing, the intake manifold, and the coolant reservoir. This will allow you to locate the pipe through which the brake fluid flows: by inserting the other end of the pipe into a container, you can press the clutch pedal to expel all the fluid until it fills the container. by ScegliAuto More videos
|

|
For advertising on this site Write to info@scegliauto.com
ScegliAuto is not responsible for any inaccuracy of the data in the lists. To report any inaccuracy or your business (if you own the business in question), please write to info@scegliauto.com
Number of seconds to generate the page: 0.873
(c) ScegliAuto 2026 - info@scegliauto.com - Privacy policy VAT number: IT01247470535 |
