
|
Do it yourself
| |||
| ||||


It is not true that all oil-soaked belts are to be thrown away.
Model: Audi A4
B8
- Years 2007-2016
In this video we can see that there are also efficient oil bath belts, such as those of the VAG group: in fact, these belts do not move the distribution, but only the oil pump, which is a less critical task compared to synchronizing the entire engine; it is then designed with specific materials, to withstand continuous immersion in engine oil, and also possible contamination with diesel. Furthermore, it works continuously immersed, so this environment does not degrade it, but preserves it by lubricating and keeping it flexible; it is also oversized for its task. The youtuber in the video explains the difference with the disaster of the PSA, where the problems were caused by gasoline vapors and oil degrading the rubber; furthermore, the belt moved the distribution, which was a huge effort. The manufacturer indicates an expiration date, but the youtuber confirms having seen belts with 400,000 km still in good condition, so he considers it a component capable of lasting as long as the car itself.
Posted on 8 September 2025 by ScegliAuto
Video tutorial
Related tutorials
Audi A4
(2000-2004 /
B6)
To change the fluid in the automatic transmission, first raise the car on a lift. Unscrew the small drain plug for the fluid. Next, remove the pan by…
Audi A4
(2000-2004 /
B6)
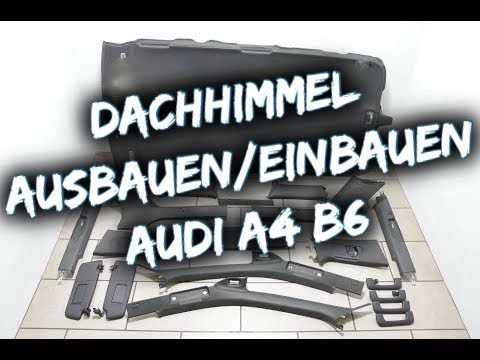
To replace the headliner in an Audi A4, detach the plastic covers from the door pillars using a tool like a screwdriver. Once these are removed, you …

Audi A4
(2000-2004 /
B6)
Sometimes the service light on the Audi A4 B6 may not reset, and here are the most common reasons: first, consider the hood release switch. If the li…
Other guides you may be interested in
|
How to Replace the External Wing Mirror on a Ford C MAX
In the event of a breakage, it will be necessary to replace the external wing mirror on the 2011 Ford C MAX. This operation is easily performed independently. Start by removing the internal cover of the mirror with a plastic lever. Then, use a socket wrench to remove the securing pins. Once the pins are removed, you can take off the mirror, but not before disconnecting the power connectors. Then proceed to fit the new mirror. First, connect the connectors and then secure the mirror to its housing with the pins. Refit the plastic cover and test the operation of the electric mirror using the controls. by ScegliAuto More videos
|

|
For advertising on this site Write to info@scegliauto.com
ScegliAuto is not responsible for any inaccuracy of the data in the lists. To report any inaccuracy or your business (if you own the business in question), please write to info@scegliauto.com
Number of seconds to generate the page: 0.845
(c) ScegliAuto 2026 - info@scegliauto.com - Privacy policy VAT number: IT01247470535 |
