
|
Do it yourself
| |||
| ||||


Always keep an eye on the timing belt condition of the Audi A3.
Model: Audi A3
MK 3, 8V
- Years 2012-2019
In this video, we see a very important message about the need to keep the timing belt of our Audi A3 under control: in fact, the car in the video has only 134,000 kilometers, so it is far from the minimum mileage of 200,000 km for which the belt should be replaced, but it went to the workshop for another job and it was possible to notice that the belt was in really bad conditions: the belt was hardened, probably due to the heat reached under the hood, especially in summer, with the air conditioner on cooling in the cabin but heating in the engine. The belt must therefore be visually checked at each service, or before each long journey, in order to avoid very serious problems with the engine.
Posted on 16 October 2025 by ScegliAuto
Video tutorial
Related tutorials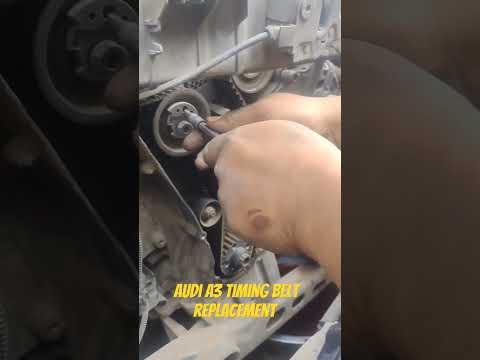
Audi A3
(2003-2013 /
8P, MK 2)
Good morning, today's goal is to replace the timing belt of our Audi A3. Let's start by opening the front hood and removing the air filter system. Th…
Audi A3
(2012-2019 /
MK 3, 8V)
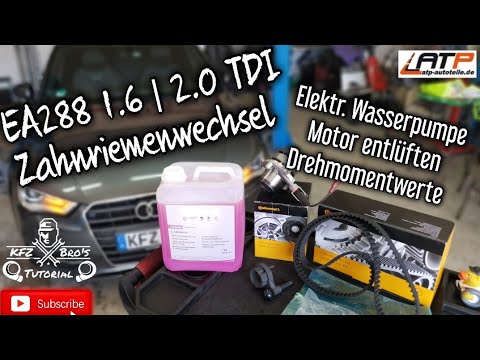
Below we will see the instructions on how and when to replace the timing belt on the Audi A3 2.0 TDI (but also on other models with the same engine);…

Audi A3
(2012-2019 /
MK 3, 8V)
In this video we can see an interesting timelapse of the timing and replacement of the timing belt of an Audi A3: at the beginning we find an explana…
Other guides you may be interested in
|
Installation of Upgraded Intercooler Radiator with Pipes
Lift the vehicle on suitable axle stands, remove the front wheels, and then the front bumper and grille. Proceed to remove the front headlights; drain the coolant, remove the intercooler radiator and the hoses connecting it to the intake system. Position the new intercooler radiator in the grille, temporarily securing it with cable ties, and mark with a marker the part of the metal that needs to be removed to allow the new hoses to pass through. Cut the marked portion of metal and apply a gasket to the edge. Remove the inner cover of the bumper and position it near the radiator to identify any interfering parts to eliminate: again, apply a gasket to the edge of the cut. Create brackets for securing the new radiator and proceed with the installation of the connecting pipes from the radiator to the intake, shaping and connecting them appropriately. Finally, reassemble the bumper, headlights, and grille. by ScegliAuto More videos
|

|
For advertising on this site Write to info@scegliauto.com
ScegliAuto is not responsible for any inaccuracy of the data in the lists. To report any inaccuracy or your business (if you own the business in question), please write to info@scegliauto.com
Number of seconds to generate the page: 0.059
(c) ScegliAuto 2026 - info@scegliauto.com - Privacy policy VAT number: IT01247470535 |