
|
Do it yourself
| |||
| ||||


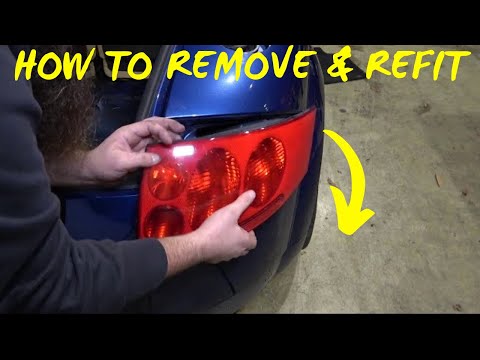
How to remove the rear light of the Audi TT?
Model: Audi Tt
8N, MK 1
- Years 1998-2006
In case we need to replace an Audi TT rear light bulb, we can see how to proceed in the attached video tutorial. Let's start by opening the small door inside the luggage compartment. Having now access from the rear, we remove the two plastic screws that hold the headlight firmly to the bodywork. Now let's move outside and gently pull the lighthouse towards us, in order to get it out of the seat. We disconnect the connector, unscrew the two screws that hold the plate of the bulbs anchored and proceed with the replacement of the latter. The assembly will be just as simple, it is in fact to follow the same procedure but inversely.
Posted on 3 November 2021 by ScegliAuto
Video tutorial
Related tutorials
Audi Tt
(1998-2006 /
8N, MK 1)
Below we will see the instructions that will allow us to disassemble and replace the rear headlight bulbs of the Audi TT, in simple steps. First, we …
Audi Tt
(1998-2006 /
8N, MK 1)
In order to replace the rear light of the Audi TT it is necessary to open the tailgate of the luggage compartment and go to unscrew the knob located …
Audi Tt
(2006-2014 /
8J, MK 2)
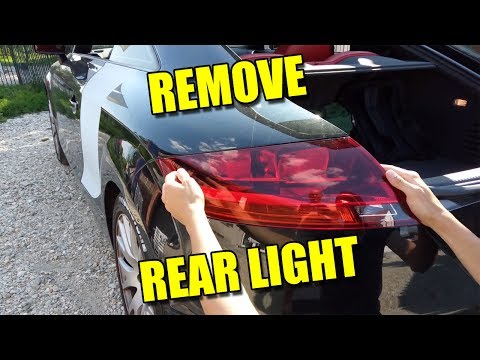
How to remove the rear light of an Audi TT? Very simple operation, we see in this video how to proceed. We open the tailgate of the luggage compartme…
Other guides you may be interested in
|
How to Remove and Reinstall the Rear Wheel Support Plates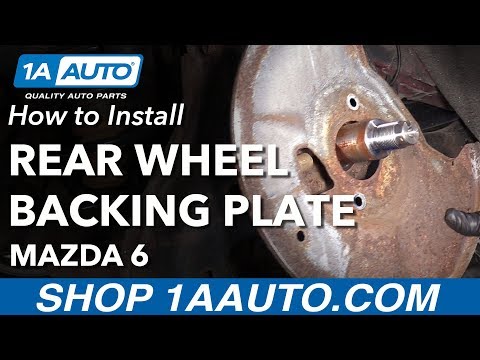
To remove and reinstall the rear wheel support plates, first lift the car on a ramp. Then, using a 12 mm socket, unscrew the bolts securing the wheel to remove it. Next, take out the support assembly by unscrewing the relevant bolts. You can then slide out the first plate by unscrewing the bolts with the appropriate spanner. After that, using a 35 mm socket, remove the other bolt that precedes the second plate. Proceed to unscrew all the smaller screws to take it off. To reinstall everything, simply reverse all the steps just mentioned, ensuring to clean all parts thoroughly and lubricate them. by ScegliAuto More videos
|
|
For advertising on this site Write to info@scegliauto.com
ScegliAuto is not responsible for any inaccuracy of the data in the lists. To report any inaccuracy or your business (if you own the business in question), please write to info@scegliauto.com
Number of seconds to generate the page: 0.081
(c) ScegliAuto 2026 - info@scegliauto.com - Privacy policy VAT number: IT01247470535 |