
|
Do it yourself
| |||
| ||||


|
Open the bonnet and free the clutch cable from the linkage on the gearbox. Access the cabin and remove the section of the dashboard just below the steering wheel to reach the pedal assembly more easily and detach the cable from the clutch lever. Once the cable is free, remove the broken grommet. From the engine bay, remove the coolant reservoir to access the grommet's seat, pull out the old clutch cable, and file the grommet so it fits into the corresponding hole. At this point, modify the grommet by adding a washer and a nut, securing it with weld points to create a stop for the end of the stroke. Lubricate the new clutch cable with spray grease, insert the modified grommet into the designated hole, attach it first to the lever on the gearbox and then to the pedal assembly, followed by adjusting the stroke.
Updated on 13 February 2026 by ScegliAuto
Video tutorial
Related tutorials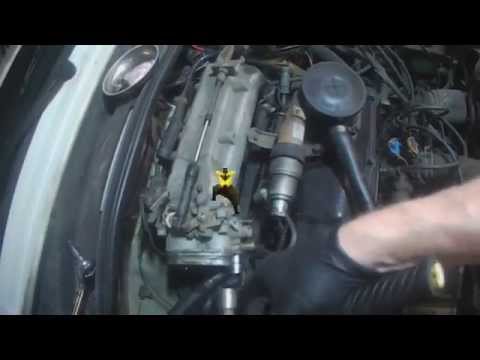
Audi A2
(1999-2005 /
MK 1)
If the engine idles very irregularly and the response to acceleration is not lively, it is likely that there is some malfunction in the throttle body…
Audi A2
(1999-2005 /
MK 1)
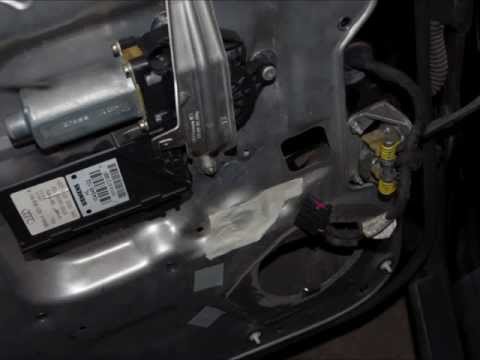
The tools needed for this repair are: a drill with a metal bit, a riveter, and a set of screwdrivers. The first step is to remove the door panel by u…

Audi A2
(1999-2005 /
MK 1)
The Audi A2 is certainly one of the first to achieve the city car objective: it is a 5-door model with truly compact dimensions and, thanks to the us…
Other guides you may be interested in
|
How to Bleed the Clutch on a Renault Clio?
To bleed the clutch on a Renault Clio, open the bonnet to access the components located in the engine bay: here, you will need to undo the screws that secure the battery in its housing, the intake manifold, and the coolant reservoir. This will allow you to locate the pipe through which the brake fluid flows: by inserting the other end of the pipe into a container, you can press the clutch pedal to expel all the fluid until it fills the container. by ScegliAuto More videos
|
|
For advertising on this site Write to info@scegliauto.com
ScegliAuto is not responsible for any inaccuracy of the data in the lists. To report any inaccuracy or your business (if you own the business in question), please write to info@scegliauto.com
Number of seconds to generate the page: 0.650
(c) ScegliAuto 2026 - info@scegliauto.com - Privacy policy VAT number: IT01247470535 |
