
|
Do it yourself
| |||
| ||||


|
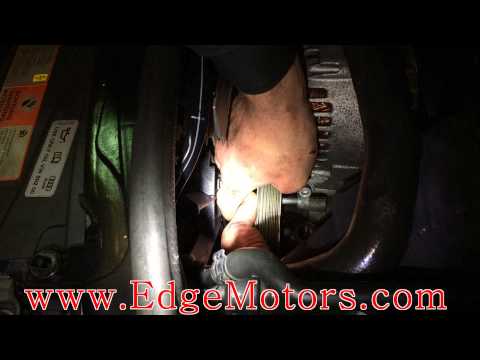
After safely lifting the car, remove the wheel. Next, take off the brake caliper and the brake rotor. Unscrew the central hub bolt. At this point, you need to remove the entire wheel support, starting with the lower control arms. Once the nuts are removed, use a hammer to gently pry and free the pin from its seat. Now, free the upper pins, then unscrew the two cable supports from the back. You can now remove the entire assembly and pull out the remaining part of the hub from the back. Next, from the back, unscrew the four bolts that hold the actual bearing. Now you can replace the bearing. Reinsert the hub carrier using a suitable press tool or similar, and proceed to reassemble the entire support, securing it to the respective pins. Reinsert the central hub bolt and reposition the brake rotor with the help of a wheel nut while you reattach the brake caliper. Reassemble the cable supports, tighten the central hub bolt, and reinstall the wheel. Car model: Audi A4 B6
Required tools: wrenches and/or sockets 10, 13, 16, 17, 18, 21 mm, hammer, pry bar, M12 torx wrench.
Updated on 22 February 2026 by ScegliAuto
Video tutorial
Related tutorials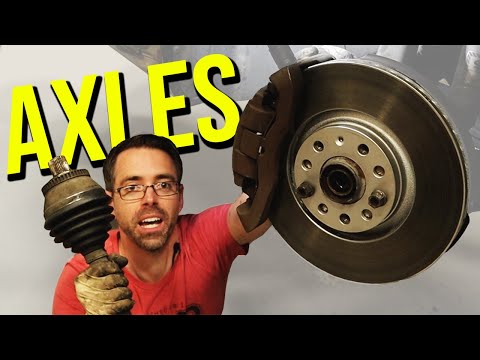
Audi A4
(2004-2008 /
B7)
Let's see in this video how to disassemble and replace the front axle shaft of the Audi A4 B7, following the instructions below. First we lift the ca…
Audi A4
(2004-2008 /
B7)
Changing your car's pump can be slightly complicated, but with a bit of patience and good will, it can be done. Each step necessary to disassemble th…
Audi A4
(2007-2016 /
B8)
To be able to replace the front brake pads of the Audi A4, you must first lift the car with a jack, so that the corresponding wheel is not in contact…
Other guides you may be interested in
|
How to Replace the Fuel Filler Flap of a Volkswagen Golf
As the first step, open the fuel flap and unscrew the cap of the fuel filler neck. Just below the flap closure hook, there is a screw to unscrew. This way, you can easily pull the edge you just unscrewed with your hands. Be careful with the gasket present, and with great care, continue with the extraction of the flap. Once removed, you can make the necessary replacements. Now, retrace the steps described in reverse for reassembling the various components, and you're done! by ScegliAuto More videos
|
|
For advertising on this site Write to info@scegliauto.com
ScegliAuto is not responsible for any inaccuracy of the data in the lists. To report any inaccuracy or your business (if you own the business in question), please write to info@scegliauto.com
Number of seconds to generate the page: 0.060
(c) ScegliAuto 2026 - info@scegliauto.com - Privacy policy VAT number: IT01247470535 |