
|
Do it yourself
| |||
| ||||


parking sensors installation
Model: Audi A4
B6
- Years 2000-2004
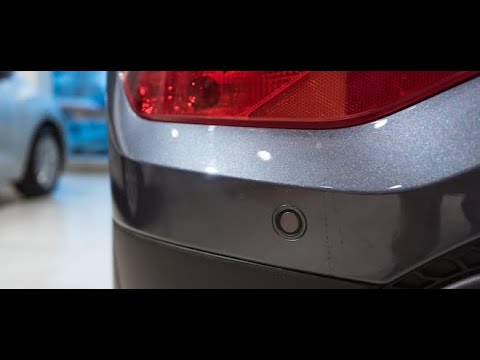
First, obtain the sensor kit. Begin by protecting the bumper with standard masking tape used for painting. Using the installation diagram supplied with the kit, mark the sensor mounting points on the tape.
Using a drill, make small pilot holes at the marked positions. Then fit a hole saw matching the diameter of the sensors and enlarge the holes accordingly. Insert the sensors into the holes and route all cables into the trunk, organizing them into a neat wiring harness. Remove the rear light assembly and locate the reverse light wire. Connect the cable fitted with a ring terminal to a suitable ground screw, and connect the positive power wire to the reverse light wire. To do this, use appropriate quick splice connectors (tap connectors) to create a safe and secure connection. Connect all sensors to the control unit and install the buzzer inside the vehicle, routing the cables underneath the center tunnel. Finally, test the sensors to ensure proper operation.
Posted on 5 December 2014 by ScegliAuto
Video tutorial
Related tutorials
Audi A4
(2004-2008 /
B7)
In this video tutorial we will see how to remove, in simple steps, the parking sensor control unit of an Audi A4 B6-B7. First of all we are going to …
Audi A4
(2004-2008 /
B7)
In today's video tutorial we will see how to remove the parking sensors on an Audi A4 B7, second series. First we open the boot lid and unscrew the f…
Audi A4
(2000-2004 /
B6)
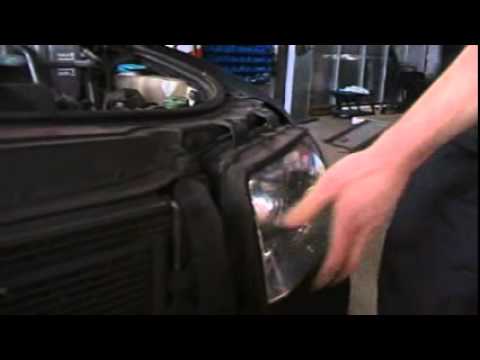
This guide shows how to install an aftermarket xenon headlight kit.
Provided that the installation complies with legal requirements set by traffic re…
Other guides you may be interested in
|
Installation of Upgraded Intercooler Radiator with Pipes
Lift the vehicle on suitable axle stands, remove the front wheels, and then the front bumper and grille. Proceed to remove the front headlights; drain the coolant, remove the intercooler radiator and the hoses connecting it to the intake system. Position the new intercooler radiator in the grille, temporarily securing it with cable ties, and mark with a marker the part of the metal that needs to be removed to allow the new hoses to pass through. Cut the marked portion of metal and apply a gasket to the edge. Remove the inner cover of the bumper and position it near the radiator to identify any interfering parts to eliminate: again, apply a gasket to the edge of the cut. Create brackets for securing the new radiator and proceed with the installation of the connecting pipes from the radiator to the intake, shaping and connecting them appropriately. Finally, reassemble the bumper, headlights, and grille. by ScegliAuto More videos
|
|
For advertising on this site Write to info@scegliauto.com
ScegliAuto is not responsible for any inaccuracy of the data in the lists. To report any inaccuracy or your business (if you own the business in question), please write to info@scegliauto.com
Number of seconds to generate the page: 0.047
(c) ScegliAuto 2026 - info@scegliauto.com - Privacy policy VAT number: IT01247470535 |