
|
Do it yourself
| |||
| ||||


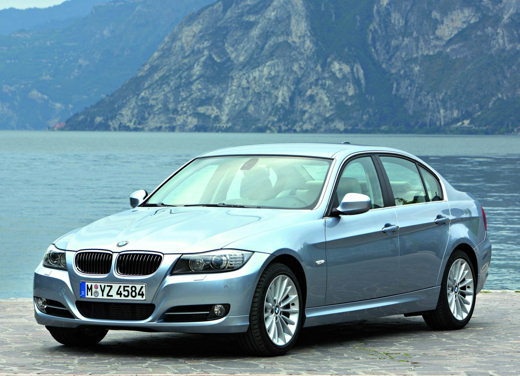
Brake Pad and Rotor Replacement
Model: BMW Serie 3
E92, E90, E91
- Years:
2005, 2006, 2007, 2008, 2009, 2010, 2011, 2012, 2013
Video tutorial
If you own a BMW 3 Series, you can see in this video how to replace the brake pads and rotor. Remove the wheel. Take off the caps covering the heads of the side bolts that secure the brake caliper, then remove the bolts themselves. Disconnect the brake sensor connectors, and using a screwdriver, extract the caliper and hang it to the side so it does not obstruct further operations. To detach the rotor, use a screwdriver as a chisel and a hammer. Once removed, take a new one, insert it, and mount it in the same position as the old one. Clean and polish its surface. Now take the new pads, clean the previously removed calipers, and reinstall them. Use a spacer to adjust the gap for the new pads, then insert them. At this point, reinstall the brake caliper as before, remembering to connect the brake sensors, which in this case are replaced with new ones. Reinstall the wheel and, with the vehicle off, press the brake pedal several times (slowly) to ensure the new pads adhere properly.
Updated on 11 February 2026 by ScegliAuto
Related tutorials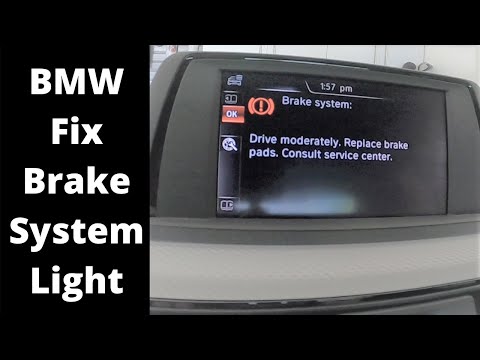
BMW Serie 3
(2012-2019 /
F31, F30)
Follow these instructions to reset the brake pad wear warning light on a BMW 3 Series. After replacing the old brake pads, get in the vehicle and tur…

BMW Serie 3
(2005-2013 /
E92, E90, E91)
This video shows the reset procedure for the brake pad maintenance warning light on the BMW 3 Series E90, as this light remains on even after replaci…

BMW Serie 3
(1990-2001 /
E36)
Lift the vehicle on a lift or on appropriate jack stands and remove the wheel on the side where the repair will be performed. Locate the two mounting…
Other guides you may be interested in
|
How to Reset the Tire Pressure Light on a MG ZS?
On the instrument cluster of the MG ZS, the tire pressure light that appears can be reset by inflating the tires to the correct pressure: this value will be indicated on the sticker attached to the driver's door pillar. Once the tires have been properly inflated, you can turn on the instrument cluster and navigate through the menu until you find the option that indicates tire pressure: if this screen shows the new values, the light will turn off; otherwise, you will need to drive for a few miles so that the sensors can read the new values and turn off the light afterward. by ScegliAuto More videos
|
|
For advertising on this site Write to info@scegliauto.com
ScegliAuto is not responsible for any inaccuracy of the data in the lists. To report any inaccuracy or your business (if you own the business in question), please write to info@scegliauto.com
Number of seconds to generate the page: 0.033
(c) ScegliAuto 2026 - info@scegliauto.com - Privacy policy VAT number: IT01247470535 |
