
|
Do it yourself
| |||
| ||||


Removing Windshield Pillar Trim
Model: BMW Serie 3
E46
- Years 1998-2006
To remove the windshield pillar trim, first remove the molding located at the center and below, where the mounting screws are found. This molding is snap-fitted, so it is sufficient to pry along the edges to release it. Then, unscrew the mounting screws of the trim and disengage the pressure clips to complete the removal. Be careful not to deform the front part that is tucked under the dashboard during removal, as this could create creases that would remain visible after reinstallation.
Updated on 16 February 2026 by ScegliAuto
Video tutorial
Related tutorials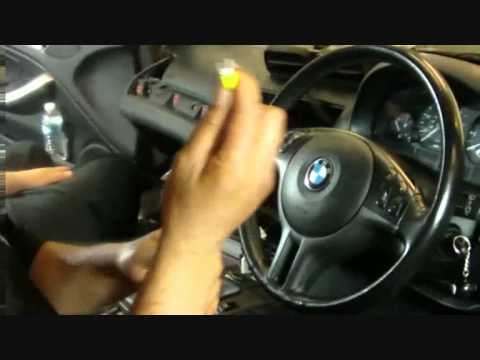
BMW Serie 3
(1998-2006 /
E46)
Using a medium-sized flathead screwdriver, pry off the dashboard trim.
Unscrew the fastening screw of the side air duct and remove it.
Take off the…
BMW Serie 3
(2005-2013 /
E91, E90, E92)
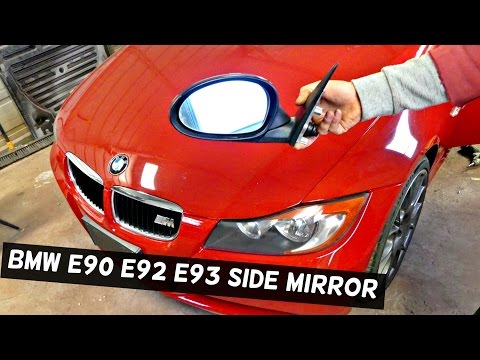
To remove the outside rearview mirror, first remove the door panel: start by detaching the trim that covers the central section of the panel to acces…
BMW Serie 3
(1998-2006 /
E46)
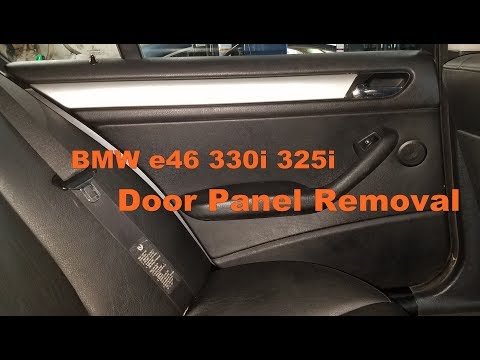
Removing the door panel involves taking off the trim molding located right at the internal opening lever: once the molding is removed, unscrew the sc…
Other guides you may be interested in
|
Frequently Asked QuestionsHow to reset the tyre pressure warning light on the Suzuki Jimny?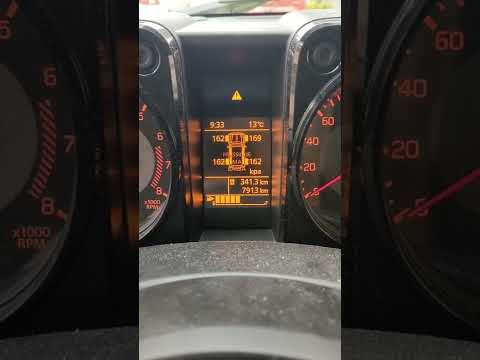
To reset the tyre pressure warning light on the Suzuki Jimny, first inflate the tyres to the pressure value indicated on the corresponding sticker: this is located at the bottom of the driver's door pillar. Once the tyres are inflated, insert the ignition key and turn on the instrument panel: select the screen that indicates the tyre pressures, checking that the values change. After a few seconds, the tyre pressure warning light will automatically turn off. by ScegliAuto More videos
|
|
For advertising on this site Write to info@scegliauto.com
ScegliAuto is not responsible for any inaccuracy of the data in the lists. To report any inaccuracy or your business (if you own the business in question), please write to info@scegliauto.com
Number of seconds to generate the page: 0.132
(c) ScegliAuto 2026 - info@scegliauto.com - Privacy policy VAT number: IT01247470535 |
