
|
Do it yourself
| |||
| ||||


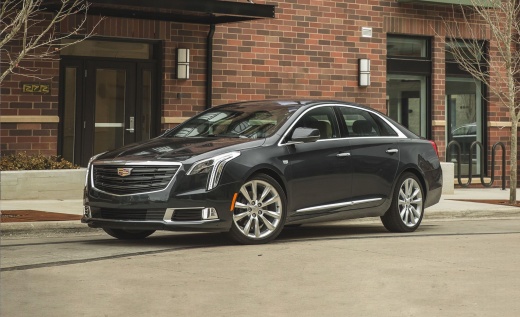
How to Make a Custom Leather Keychain for Cadillac XTS
Model: Cadillac Xts
MK 1
- Years:
2013, 2014, 2015, 2016, 2017, 2018, 2019
Video tutorial
If you love your vehicle, try creating this custom keychain for your Cadillac XTS. You only need two pieces of leather. Cut them slightly larger than the keychain and soak them in water. Meanwhile, wrap your remote with plastic wrap. Once the leather has softened, shape it around the remote, trim it to size, and hold it in place with office clips. Then, use a wooden stick to trace the contours of the device. With a sharp knife, cut away the excess edges on the bottom. Sand the exterior of the remote with fine sandpaper. Now, use a piece of cardboard to create a template of the Cadillac logo. Glue it where the logo is on the keychain and cut the leather accordingly. Finish it with sandpaper and then apply black paint. Now do the same for the back of the remote, where the buttons are located. Cut two small slits at the bottom of the case, parallel to each other. Now, using a specialized tool or a large needle, make holes all around for stitching. Glue the two edges from the back for better hold. Press them together well and then sew with a large needle and leather thread. Trim any excess edges. Smooth the edges, paint the outer edges black, and apply a bit of glue to secure. In the slits, you can insert a tab to hold the ring or directly attach a ring. It’s really a nice project.
Updated on 19 July 2026 by ScegliAuto
Related tutorials
Cadillac Xts
(2013-2019 /
MK 1)
In this tutorial video, you will learn how to remove and replace the headlight bulb in the Cadillac XTS in simple and quick steps. First, open the ho…
Cadillac Xts
(2013-2019 /
MK 1)
Today, let's see the necessary instructions on how to disassemble and replace the headlight bulb of the Cadillac XTS. First, open the hood of your ca…

Cadillac Xts
(2013-2019 /
MK 1)
In this new mini guide dedicated to your Cadillac XTS (model years 2013-2019), we will describe the various steps necessary to quickly and safely rep…
Other guides you may be interested in
|
How to Remove the Rear Seat of a Hyundai Tucson?
To remove the rear seat of a Hyundai Tucson, follow these steps. Start by moving the front seats to their most forward position to gain space. Next, locate the release lever on the underside of the rear seat, near the floor. Press this lever down while pulling the seat upwards to unlock it from the anchor pins. Once unlocked, tilt the seat upwards and forwards to remove it from its position. Repeat this process for both sides of the rear seat. Be careful of any electrical cables or components that may be connected to the seat during removal. Once the rear seat is removed, the disassembly is complete. by ScegliAuto More videos
|
|
For advertising on this site Write to info@scegliauto.com
ScegliAuto is not responsible for any inaccuracy of the data in the lists. To report any inaccuracy or your business (if you own the business in question), please write to info@scegliauto.com
Number of seconds to generate the page: 0.126
(c) ScegliAuto 2026 - info@scegliauto.com - Privacy policy VAT number: IT01247470535 |
