
|
Do it yourself
| |||
| ||||


Replacing Dipped Beam on Chevrolet Captiva
Model: Chevrolet Captiva
MK 1
- Years 2006-2018
Open the bonnet and insert the support rod. Unscrew the two 10 mm screws located behind the affected headlamp and the bolt (also 10 mm) that secures it to the front bumper, as shown in the video. Once the black plastic above the bumper (the radiator protection) is freed, you can extract the headlamp from its housing and remove the round cover located behind the dipped beam bulb by unscrewing it. After that, disconnect the connector and slightly unscrew the bulb to remove it. Insert and screw in the new bulb and reassemble everything in reverse order.
Updated on 5 April 2026 by ScegliAuto
Video tutorial
Related tutorials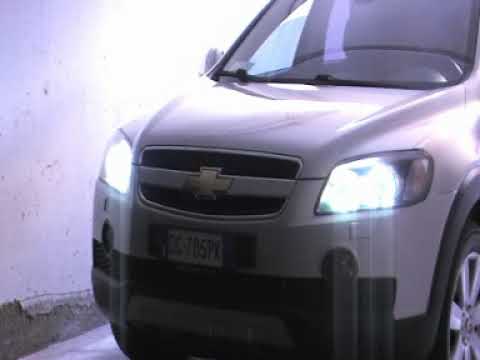
Chevrolet Captiva
(2006-2018 /
MK 1)
Modify bi-xenon headlights on Captiva. …
Chevrolet Captiva
(2006-2018 /
MK 1)
The fuses in the Chevrolet Captiva are positioned within dedicated fuse boxes installed in the car: on this type of vehicle, you can find two boxes f…

Chevrolet Captiva
(2006-2018 /
MK 1)
Before you can start, open the rear tailgate of the boot of your Chevrolet Captiva. Begin by removing the rear lights, simply by unscrewing the fixin…
Other guides you may be interested in
|
How to Replace the Battery on a Honda Vision 110
To replace the battery on a Honda Vision 110, you need to remove the front fairing of the motorcycle, located directly under the front headlamp. To loosen this panel, unscrew the two screws found at its top, just below the handlebar. Once these screws are loosened, lever under the panel to detach it, gaining access to the battery underneath: this battery must be removed from its housing by unscrewing the fixing screws and disconnecting the power cables, replacing it with a new one. by ScegliAuto More videos
|
|
For advertising on this site Write to info@scegliauto.com
ScegliAuto is not responsible for any inaccuracy of the data in the lists. To report any inaccuracy or your business (if you own the business in question), please write to info@scegliauto.com
Number of seconds to generate the page: 0.341
(c) ScegliAuto 2026 - info@scegliauto.com - Privacy policy VAT number: IT01247470535 |
