
|
Do it yourself
| |||
| ||||


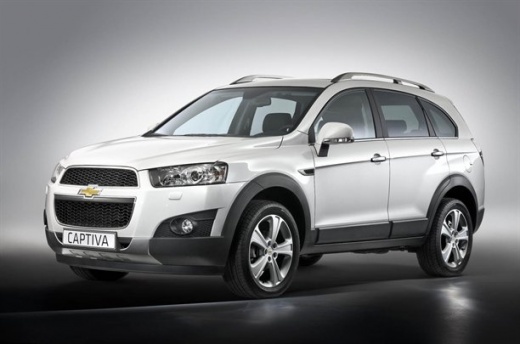
How to Dismantle the Chevrolet Captiva Sat Nav
Model: Chevrolet Captiva
MK 1
- Years:
2006, 2007, 2008, 2009, 2010, 2011, 2012, 2013, 2014, 2015, 2016, 2017
Video tutorial
To dismantle the integrated satellite navigator in the central console of the dashboard, start by unclipping the side frames that also integrate the air vents. At this point, unscrew the fixing screws of the frame around the display above the navigator to move it forward and access the fixing screws of the navigator itself. You can then unscrew these screws and extract the navigator from its housing before disconnecting the relevant plugs. Proceed in reverse for installation, ensuring to check functionality after connection before reassembling the other elements.
Updated on 23 February 2026 by ScegliAuto
Related tutorials
Chevrolet Captiva
(2006-2018 /
MK 1)
Modify bi-xenon headlights on Captiva. …

Chevrolet Captiva
(2006-2018 /
MK 1)
Before you can start, open the rear tailgate of the boot of your Chevrolet Captiva. Begin by removing the rear lights, simply by unscrewing the fixin…

Chevrolet Captiva
(2006-2018 /
MK 1)
To effectively troubleshoot electrical faults in your Chevrolet Captiva, you need to know the location of the respective fuses. This guide will help …
Other guides you may be interested in
|
How to reset the tyre pressure warning light on the Kia Niro EV?
To reset the tyre pressure warning light on the Kia Niro EV, inflate the tyres until they reach the correct pressure value. This value is indicated on the sticker attached to the driver's door pillar. Once the tyres are inflated, turn on the instrument cluster to check that the warning light has completely disappeared from the display. If it is still present, you may need to drive for a few miles to ensure it disappears completely from the screen. by ScegliAuto More videos
|
|
For advertising on this site Write to info@scegliauto.com
ScegliAuto is not responsible for any inaccuracy of the data in the lists. To report any inaccuracy or your business (if you own the business in question), please write to info@scegliauto.com
Number of seconds to generate the page: 0.025
(c) ScegliAuto 2026 - info@scegliauto.com - Privacy policy VAT number: IT01247470535 |
