
|
Do it yourself
| |||
| ||||


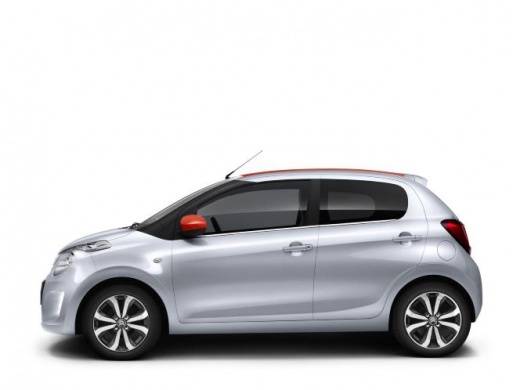
The problem of the third brake light that allows water to leak on the Citroen C1.
Model: Citroen C1
MK 2
- Years:
2014, 2015, 2016, 2017, 2018, 2019, 2020, 2021, 2022
Video tutorial
In this video we can see what the problem is with the third brake light on Citroen C1 (but also Toyota Aygo and Peugeot 108) from which water easily passes through when it rains. In fact, the light is inserted inside a triangular hollow body section, which does not have drainage holes for water; furthermore, the brake light is held in place only by clips that do not provide any water resistance, so in case of heavy rain or pressure car washes, water easily penetrates into the triangular hollow box, where a flexible cable carrying current to the brake light enters. The water flows through this hollow space and soaks the interior roof, which then drips onto the rear seats. It is therefore advisable to apply a thin layer of silicone all around the brake light, so that water can no longer penetrate, but the component can still be removed if necessary. Furthermore, to allow water to flow out, a very small hole can be made in the lower part of the section, to allow the water to drain.
Posted on 8 December 2024 by ScegliAuto
Related tutorials
Citroen C1
(2005-2014 /
MK 1)
In today's video tutorial, we can see how to replace the third brake light on a first-generation Citroen C1. However, the same procedure is also vali…

Citroen C1
(2005-2014 /
MK 1)
Replace the blown bulbs in the third brake light of a Citroen C1. Unscrew the plastic cover to access the third brake light. Remove the protective pl…

Citroen C1
(2005-2014 /
MK 1)
If water enters the boot of a Citroën C1 (and its siblings Peugeot 107 and Toyota Aygo), the cause is often the rear light seal. To repair it, remove…
Other guides you may be interested in
|
How to Remove the Rear Seat of a Hyundai Tucson?
To remove the rear seat of a Hyundai Tucson, follow these steps. Start by moving the front seats to their most forward position to gain space. Next, locate the release lever on the underside of the rear seat, near the floor. Press this lever down while pulling the seat upwards to unlock it from the anchor pins. Once unlocked, tilt the seat upwards and forwards to remove it from its position. Repeat this process for both sides of the rear seat. Be careful of any electrical cables or components that may be connected to the seat during removal. Once the rear seat is removed, the disassembly is complete. by ScegliAuto More videos
|
|
For advertising on this site Write to info@scegliauto.com
ScegliAuto is not responsible for any inaccuracy of the data in the lists. To report any inaccuracy or your business (if you own the business in question), please write to info@scegliauto.com
Number of seconds to generate the page: 0.027
(c) ScegliAuto 2026 - info@scegliauto.com - Privacy policy VAT number: IT01247470535 |
