
|
Do it yourself
| |||
| ||||


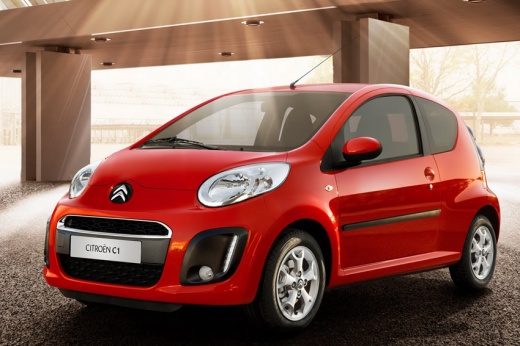
How to Repair the Rear Light Seal on a Citroën C1 (Water in the Boot)
Model: Citroen C1
MK 1
- Years:
2005, 2006, 2007, 2008, 2009, 2010, 2011, 2012, 2013, 2014
Video tutorial
If water enters the boot of a Citroën C1 (and its siblings Peugeot 107 and Toyota Aygo), the cause is often the rear light seal. To repair it, remove the light unit: unscrew the two 10 mm bolts (one at the top, one at the bottom). Push the light outwards to release the side clips and the lower rubber. Extract the light. The original rubber seal degrades over time. To seal it, apply a water-repellent sealant (such as Bostik Aqua Max, available on Amazon with code B0FJ8XV93T, priced at £15.99, free delivery for Prime customers) around the perimeter of the housing, both on the top and sides. This product does not stick like silicone and allows future removal of the light to replace bulbs. Refit the light, inserting the lower rubber first, then the upper clips. Tighten the bolts. Dry the boot carpet and check that water has not entered the wheel well. The procedure is identical for both sides.
Posted on 7 July 2026 by ScegliAuto
Related tutorials
Citroen C1
(2005-2014 /
MK 1)
Today we will discover the instructions that will allow us to disassemble and replace the bulbs of the rear light of the Citroen C1. First, we open t…

Citroen C1
(2014-2022 /
MK 2)
In this tutorial, you will see how to replace the rear lights on a Citroen C1, a very simple and quick operation. First, ensure that the key is not i…

Citroen C1
(2014-2022 /
MK 2)
In this video we can see what the problem is with the third brake light on Citroen C1 (but also Toyota Aygo and Peugeot 108) from which water easily …
Other guides you may be interested in
|
How to Remove the Toll Tag Holder from the Car Windscreen
The toll tag holder is usually attached to the car windscreen to ensure that the toll tag functions immediately when passing through barriers. However, if you decide to remove the holder, you should follow this procedure: - Insert the toll tag into the holder; - Pull the holder inwards to detach it from the windscreen; you can use a glass scraper or a stiff plastic card to assist you; After removing the holder, it is essential to remove the adhesive from the windscreen. To remove the adhesive, we recommend using a solvent-based spray that will remove the glue without clouding the area. by ScegliAuto More videos
|
|
For advertising on this site Write to info@scegliauto.com
ScegliAuto is not responsible for any inaccuracy of the data in the lists. To report any inaccuracy or your business (if you own the business in question), please write to info@scegliauto.com
Number of seconds to generate the page: 0.020
(c) ScegliAuto 2026 - info@scegliauto.com - Privacy policy VAT number: IT01247470535 |
