
|
Do it yourself
| |||
| ||||



How to repair the air actuator of the Citroen C4 Picasso
Model: Citroen C4 Picasso
MK 1
- Years:
2006, 2007, 2008, 2009, 2010, 2011, 2012, 2013
Video tutorial
When the actuator of the Citroen C4 breaks down, it is necessary to replace it to restore the correct functioning of the air conditioning. But what problems does its failure cause? In many cases, it is not possible to adjust the air conditioning between the passenger side and the driver's side. In many cases, as described in the video, hot air comes out from one side and cold air from the other. To solve this problem, we therefore remove the driver's side glove compartment and remove the actuator, unscrewing the screws that hold it in place, located right next to the ventilation system. Insert the new one and reassemble everything.
Posted on 19 December 2024 by ScegliAuto
Related tutorials
Citroen C4 Picasso
(2006-2013 /
MK 1)
The repair kit in question is used to repair the Flap, which is the actuator for the air flow ducts in the air conditioning system of the Citroen C4 …

Citroen C4 Picasso
(2006-2013 /
MK 1)
If there is a temperature difference between the driver's side and passenger's side air vents, it means one of the actuators that open and close the …
Citroen C4 Picasso
(2006-2013 /
MK 1)
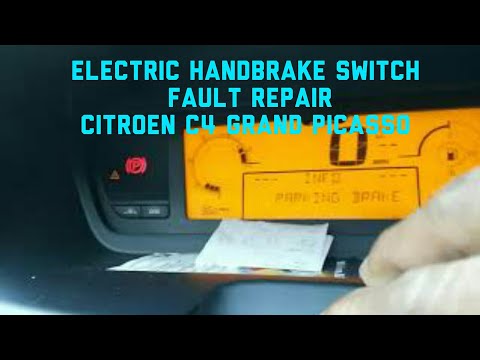
Follow this guide to repair the electronic handbrake button on the Citroen C4 Grand Picasso. First, get inside the vehicle and remove the plastic cov…
Other guides you may be interested in
|
How to Remove the Rear Seat of a Hyundai Tucson?
To remove the rear seat of a Hyundai Tucson, follow these steps. Start by moving the front seats to their most forward position to gain space. Next, locate the release lever on the underside of the rear seat, near the floor. Press this lever down while pulling the seat upwards to unlock it from the anchor pins. Once unlocked, tilt the seat upwards and forwards to remove it from its position. Repeat this process for both sides of the rear seat. Be careful of any electrical cables or components that may be connected to the seat during removal. Once the rear seat is removed, the disassembly is complete. by ScegliAuto More videos
|
|
For advertising on this site Write to info@scegliauto.com
ScegliAuto is not responsible for any inaccuracy of the data in the lists. To report any inaccuracy or your business (if you own the business in question), please write to info@scegliauto.com
Number of seconds to generate the page: 0.019
(c) ScegliAuto 2026 - info@scegliauto.com - Privacy policy VAT number: IT01247470535 |
