
|
Do it yourself
| |||
| ||||


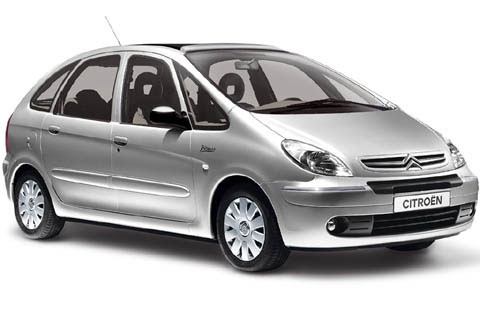
Replacement of the air conditioning control lights of the Citroen Xsara Picasso.
Model: Citroen Xsara Picasso
MK 1
- Years:
1999, 2000, 2001, 2002, 2003, 2004, 2005, 2006, 2007, 2008, 2009, 2010
Video tutorial
Today's instructions will show us how to disassemble and replace the bulbs of the air conditioning controls of the Citroen Xsara Picasso. First, we get into the car and start by removing the air conditioning controls, by removing the side plastic covers and unscrewing the fixing screws; disconnect the electrical wiring at the back, as shown in the video. Then, remove the small bulb bulbs of the air conditioning controls, replacing them with new ones (with the same fitting); check the lights' operation before reassembling everything!
Posted on 23 April 2025 by ScegliAuto
Related tutorials
Citroen Xsara Picasso
(1999-2012 /
MK 1)
Today's guide will show you how to remove and replace the bulbs of the climate control in the Citroen Xsara Picasso, following the instructions below…

Citroen Xsara Picasso
(1999-2012 /
MK 1)
Today's instructions will show us how to disassemble and replace the bulbs of the air conditioning controls of the Citroen Xsara Picasso. First, we g…

Citroen Xsara Picasso
(1999-2012 /
MK 1)
The fuses on the Citroën Xsara Picasso are contained within designated fuse boxes installed in the vehicle. This type of car has two fuse boxes. The …
Other guides you may be interested in
|
How to Remove the Rear Seat of a Hyundai Tucson?
To remove the rear seat of a Hyundai Tucson, follow these steps. Start by moving the front seats to their most forward position to gain space. Next, locate the release lever on the underside of the rear seat, near the floor. Press this lever down while pulling the seat upwards to unlock it from the anchor pins. Once unlocked, tilt the seat upwards and forwards to remove it from its position. Repeat this process for both sides of the rear seat. Be careful of any electrical cables or components that may be connected to the seat during removal. Once the rear seat is removed, the disassembly is complete. by ScegliAuto More videos
|
|
For advertising on this site Write to info@scegliauto.com
ScegliAuto is not responsible for any inaccuracy of the data in the lists. To report any inaccuracy or your business (if you own the business in question), please write to info@scegliauto.com
Number of seconds to generate the page: 0.067
(c) ScegliAuto 2026 - info@scegliauto.com - Privacy policy VAT number: IT01247470535 |
