
|
Do it yourself
| |||
| ||||


How do you reset the service light on the Dacia Duster 2019?
Model: Dacia Duster
HM, MK 2
- Years 2017-2024
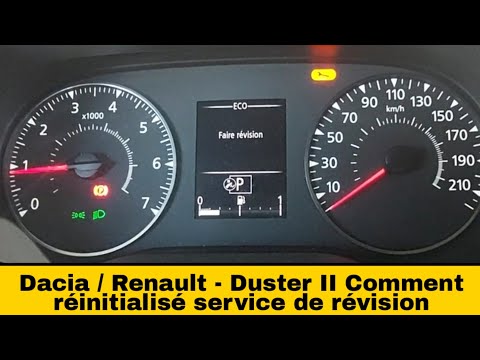
Scheduled maintenance, as it happens in any car, is also provided for in the 2019 Dacia Duster, following the manufacturer's instructions carefully. Therefore, we will have to proceed with the oil change, oil and air filter replacement, and so on. After completing all the above operations, we will have to reset the expiration warning on the onboard computer, and in this video, we are shown how to do it. First, we turn on the instrument panel, then using the arrow keys on the right side of the steering wheel, we select the Settings menu, related to the oil change, and finally, we program the next expiration date by holding down the down arrow key.
Posted on 14 December 2024 by ScegliAuto
Video tutorial
Related tutorials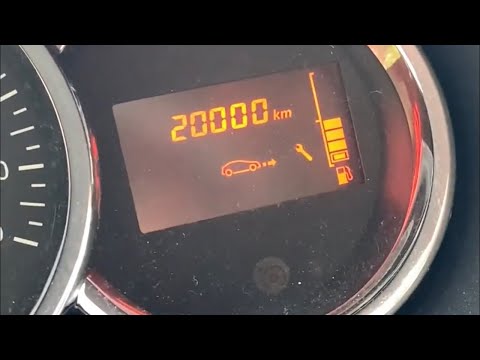
Dacia Duster
(2010-2017 /
HS, MK 1)
Before you can start, sit in the driver's seat of your Dacia Duster. Begin by activating the instrument cluster by simply turning the key in the igni…

Dacia Duster
(2017-2024 /
HM, MK 2)
The following steps will show us how to reset the maintenance service light for the oil change on the Dacia Duster. First, we get into the car and st…
Dacia Duster
(2017-2024 /
HM, MK 2)
To reset the Service light on the Dacia Duster, insert the key and turn it to activate the instrument cluster, noting the illumination of the spanner…
Other guides you may be interested in
|
Frequently Asked QuestionsHow to Open the Bonnet on the Lancia Y
To open the bonnet on this vehicle, follow these simple instructions: first, open the driver's door and locate the lever positioned just below the dashboard, marked with an image of the vehicle with the bonnet open. Pull this lever towards you until you hear a "click" indicating the bonnet is released. Next, exit the cabin and stand in front of the bonnet to disengage the safety catch and complete the opening. To do this, slightly lift the bonnet, locate the yellow lever underneath, and pull it to the left to fully release and open the bonnet. by ScegliAuto More videos
|
|
For advertising on this site Write to info@scegliauto.com
ScegliAuto is not responsible for any inaccuracy of the data in the lists. To report any inaccuracy or your business (if you own the business in question), please write to info@scegliauto.com
Number of seconds to generate the page: 0.618
(c) ScegliAuto 2026 - info@scegliauto.com - Privacy policy VAT number: IT01247470535 |
