
|
Do it yourself
| |||
| ||||


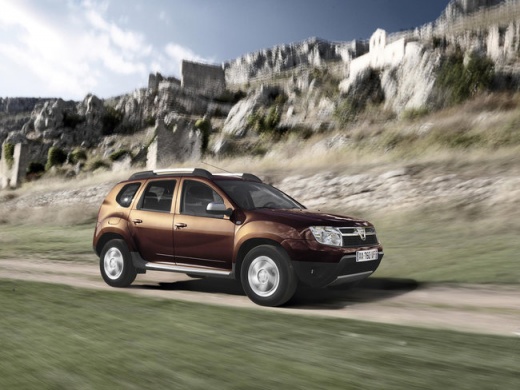
How to Change the Rear Engine Mount on a Dacia Duster
Model: Dacia Duster
- Years:
2010, 2011, 2012, 2013, 2014, 2015, 2016, 2017
Video tutorial
To change the rear engine mount on a Dacia Duster (first generation), the procedure is relatively simple. The mount is located at the bottom of the vehicle and connects the engine to the subframe. First, lift the car and secure it on axle stands. Locate the rear engine mount, and with a socket wrench (16 or 18 mm, depending on the model), unscrew the bolts securing the mount to the subframe. The mount may be under tension, so support the engine with a hydraulic jack before completely removing the bolts. Once all bolts are unscrewed, remove the old mount. You can find the new mount on eBay with the code 227521412143 for £39.10 + £14.08 shipping. Install the new engine mount in its place. Insert the bolts and hand-tighten them. Then tighten the bolts to the subframe with a torque wrench to the manufacturer's recommended torque. Remove the supporting jack. Lower the car and check that the mount is securely fixed and that the engine has no unusual play.
Posted on 13 October 2026 by ScegliAuto
Related tutorials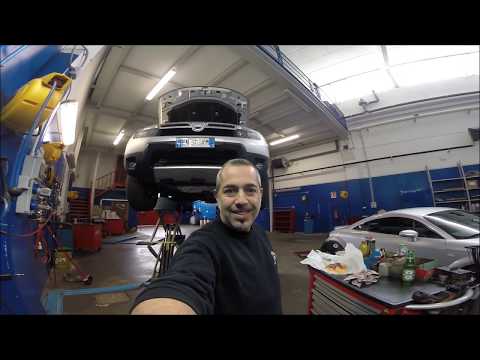
Dacia Duster
(2010-2017 /
MK 1, HS)
In this video, you will learn how to replace the timing belt on a 2012 Dacia Duster with a 1.5 dCi engine. First, create enough space to access the t…
Dacia Duster
(2010-2017 /
MK 1, HS)
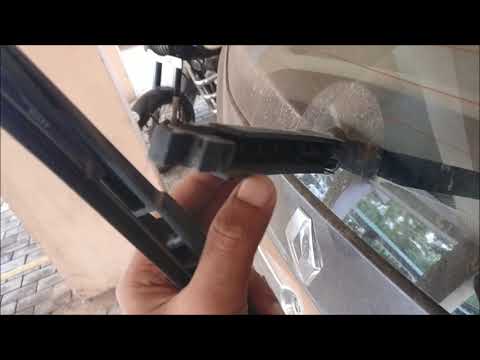
In this video, we will see how to replace the front and rear wiper blades on the first series Dacia Duster. The sizes of the blades are 50 cm for the…

Dacia Duster
(2010-2017 /
MK 1, HS)
On the Dacia Duster, the procedure starts from the engine bay, where you will work on the upper part of the strut: access the upper mount and work on…
Other guides you may be interested in
|
How to Set the Date and Time on the Iveco Daily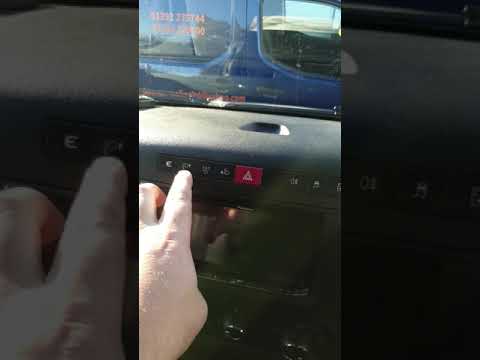
Today, we will see in this video tutorial how to change the date and time on the Iveco Daily. First, get into the vehicle and turn on the instrument panel; then go to the vehicle settings on the central display, pressing the relevant option for date and time. At this point, press the "set" button located at the top, using the physical arrow buttons to set both the date and time; finally, exit the onboard computer menu to save the changes made! by ScegliAuto More videos
|
|
For advertising on this site Write to info@scegliauto.com
ScegliAuto is not responsible for any inaccuracy of the data in the lists. To report any inaccuracy or your business (if you own the business in question), please write to info@scegliauto.com
Number of seconds to generate the page: 0.022
(c) ScegliAuto 2026 - info@scegliauto.com - Privacy policy VAT number: IT01247470535 |
