
|
Do it yourself
| |||
| ||||


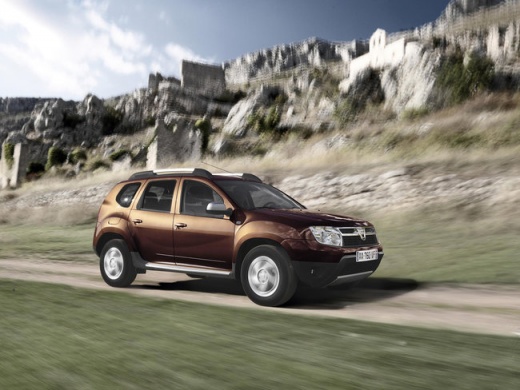
How to Change the Front Shock Absorbers on the Dacia Duster
Model: Dacia Duster
MK 1, HS
- Years:
2010, 2011, 2012, 2013, 2014, 2015, 2016, 2017
Video tutorial
On the Dacia Duster, the procedure starts from the engine bay, where you will work on the upper part of the strut: access the upper mount and work on the fixings using a socket and ratchet, preparing to remove the shock absorber assembly. Then, shift your attention to the front wheel arch of the Dacia Duster, with the wheel already removed and the brake assembly visible. The video shows the phase where the connections and supports fixed to the strut (such as brackets/stops near the shock absorber) are released, and then move on to the bolts joining the strut and hub, which are loosened to remove the shock absorber. Once removed, the strut is taken to the workbench. Here, you will clearly see the use of spring compressors to secure the coil spring, compressing it just enough to work on the upper mount. With the spring safely compressed, unscrew the central nut and separate the parts: spring, bump stop/dust cover, and upper mount, until you reach the shock absorber to be replaced. After replacement, reassemble the Dacia Duster strut on the workbench by correctly repositioning all components and gradually releasing the spring. During reassembly on the vehicle, you will see the final tightening with a torque wrench, both in the hub area and on the upper mount in the engine bay, with the values displayed on screen during tightening.
Posted on 26 August 2026 by ScegliAuto
Related tutorials
Dacia Duster
(2010-2017 /
MK 1, HS)
Before you can begin, exit the cabin of your Dacia Duster. Start by retrieving the jack located in the boot, then position it under the outer lower s…

Dacia Duster
(2010-2017 /
MK 1, HS)
Is the battery in your Dacia Duster key damaged? Here’s how to change it from the remote. Take your remote and, using a screwdriver, separate the key…
Dacia Duster
(2010-2017 /
MK 1, HS)
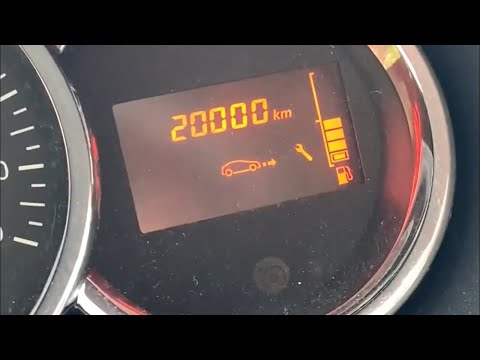
Before you can start, sit in the driver's seat of your Dacia Duster. Begin by activating the instrument cluster by simply turning the key in the igni…
Other guides you may be interested in
|
How to Remove the Rear Seat of a Hyundai Tucson?
To remove the rear seat of a Hyundai Tucson, follow these steps. Start by moving the front seats to their most forward position to gain space. Next, locate the release lever on the underside of the rear seat, near the floor. Press this lever down while pulling the seat upwards to unlock it from the anchor pins. Once unlocked, tilt the seat upwards and forwards to remove it from its position. Repeat this process for both sides of the rear seat. Be careful of any electrical cables or components that may be connected to the seat during removal. Once the rear seat is removed, the disassembly is complete. by ScegliAuto More videos
|
|
For advertising on this site Write to info@scegliauto.com
ScegliAuto is not responsible for any inaccuracy of the data in the lists. To report any inaccuracy or your business (if you own the business in question), please write to info@scegliauto.com
Number of seconds to generate the page: 0.025
(c) ScegliAuto 2026 - info@scegliauto.com - Privacy policy VAT number: IT01247470535 |
